This post is sponsored by Troy-Bilt
As the weather turns cooler this fall, it is the perfect time to prep your garden beds for the spring season. I’m excited to team up with Troy-Bilt and Amy from Get Busy Gardening to walk through the key elements of preparing an “everblooming garden” – as in one that will flower at different times of the year!
THE BEFORE
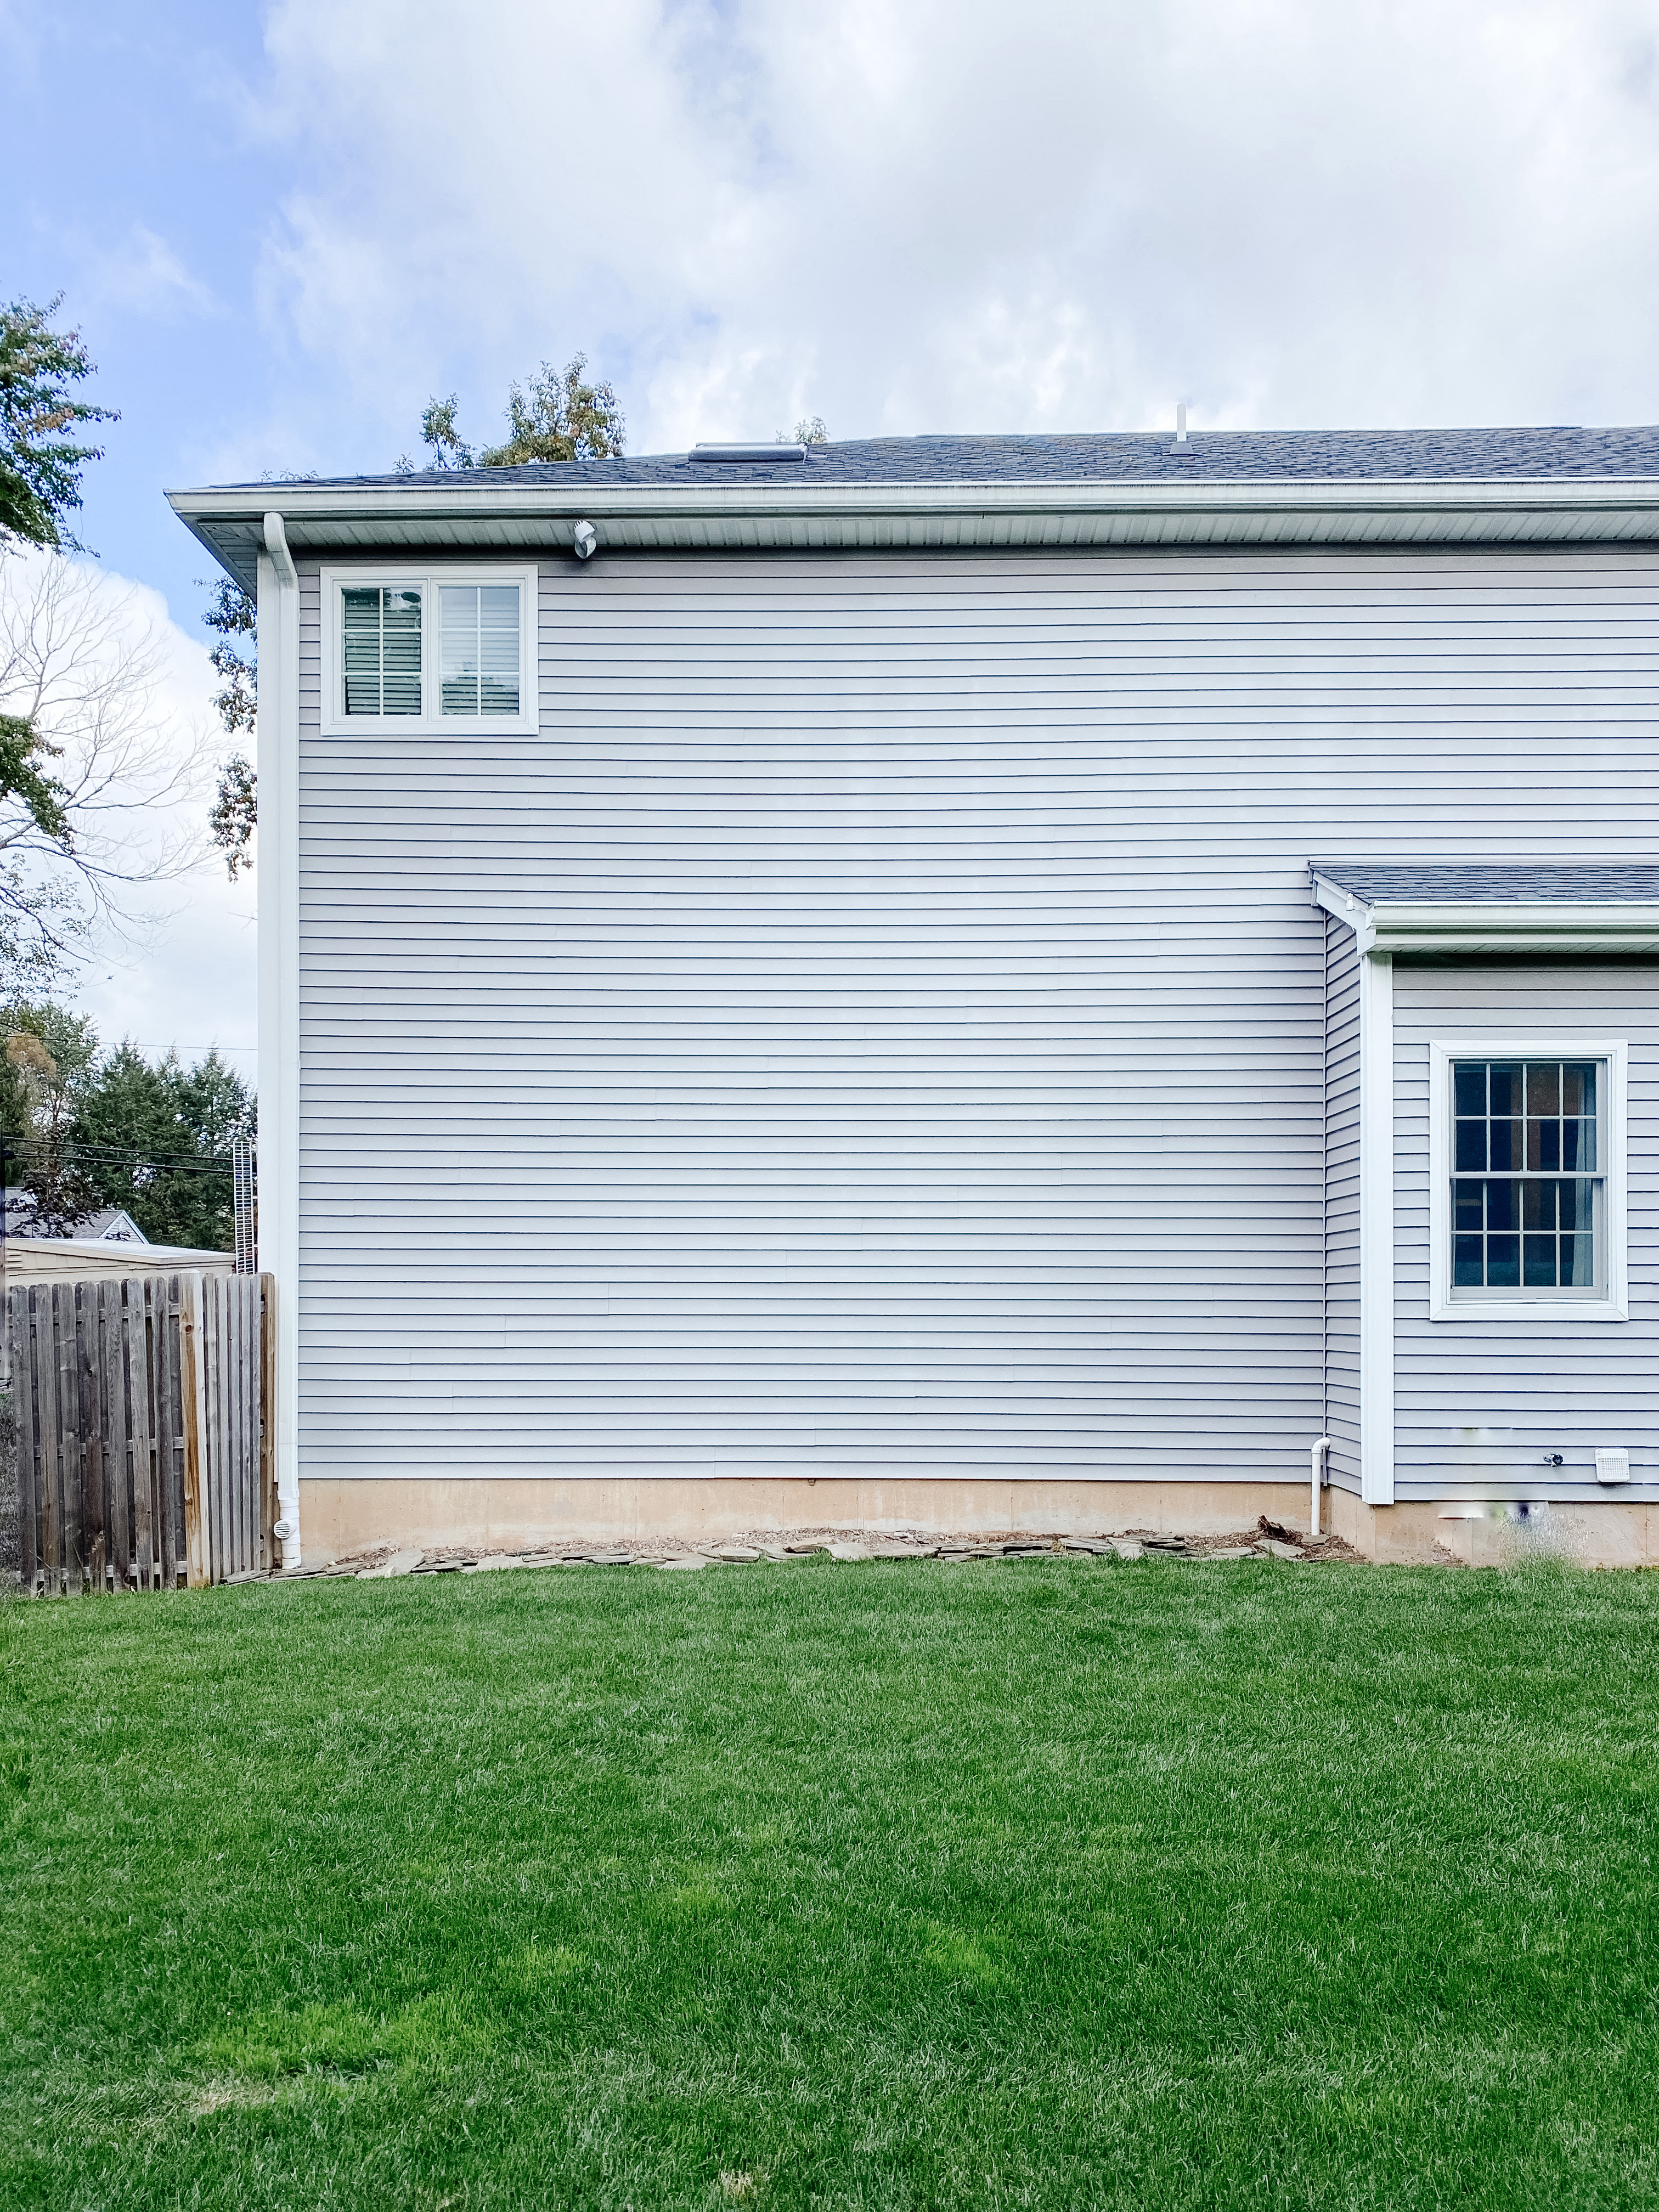
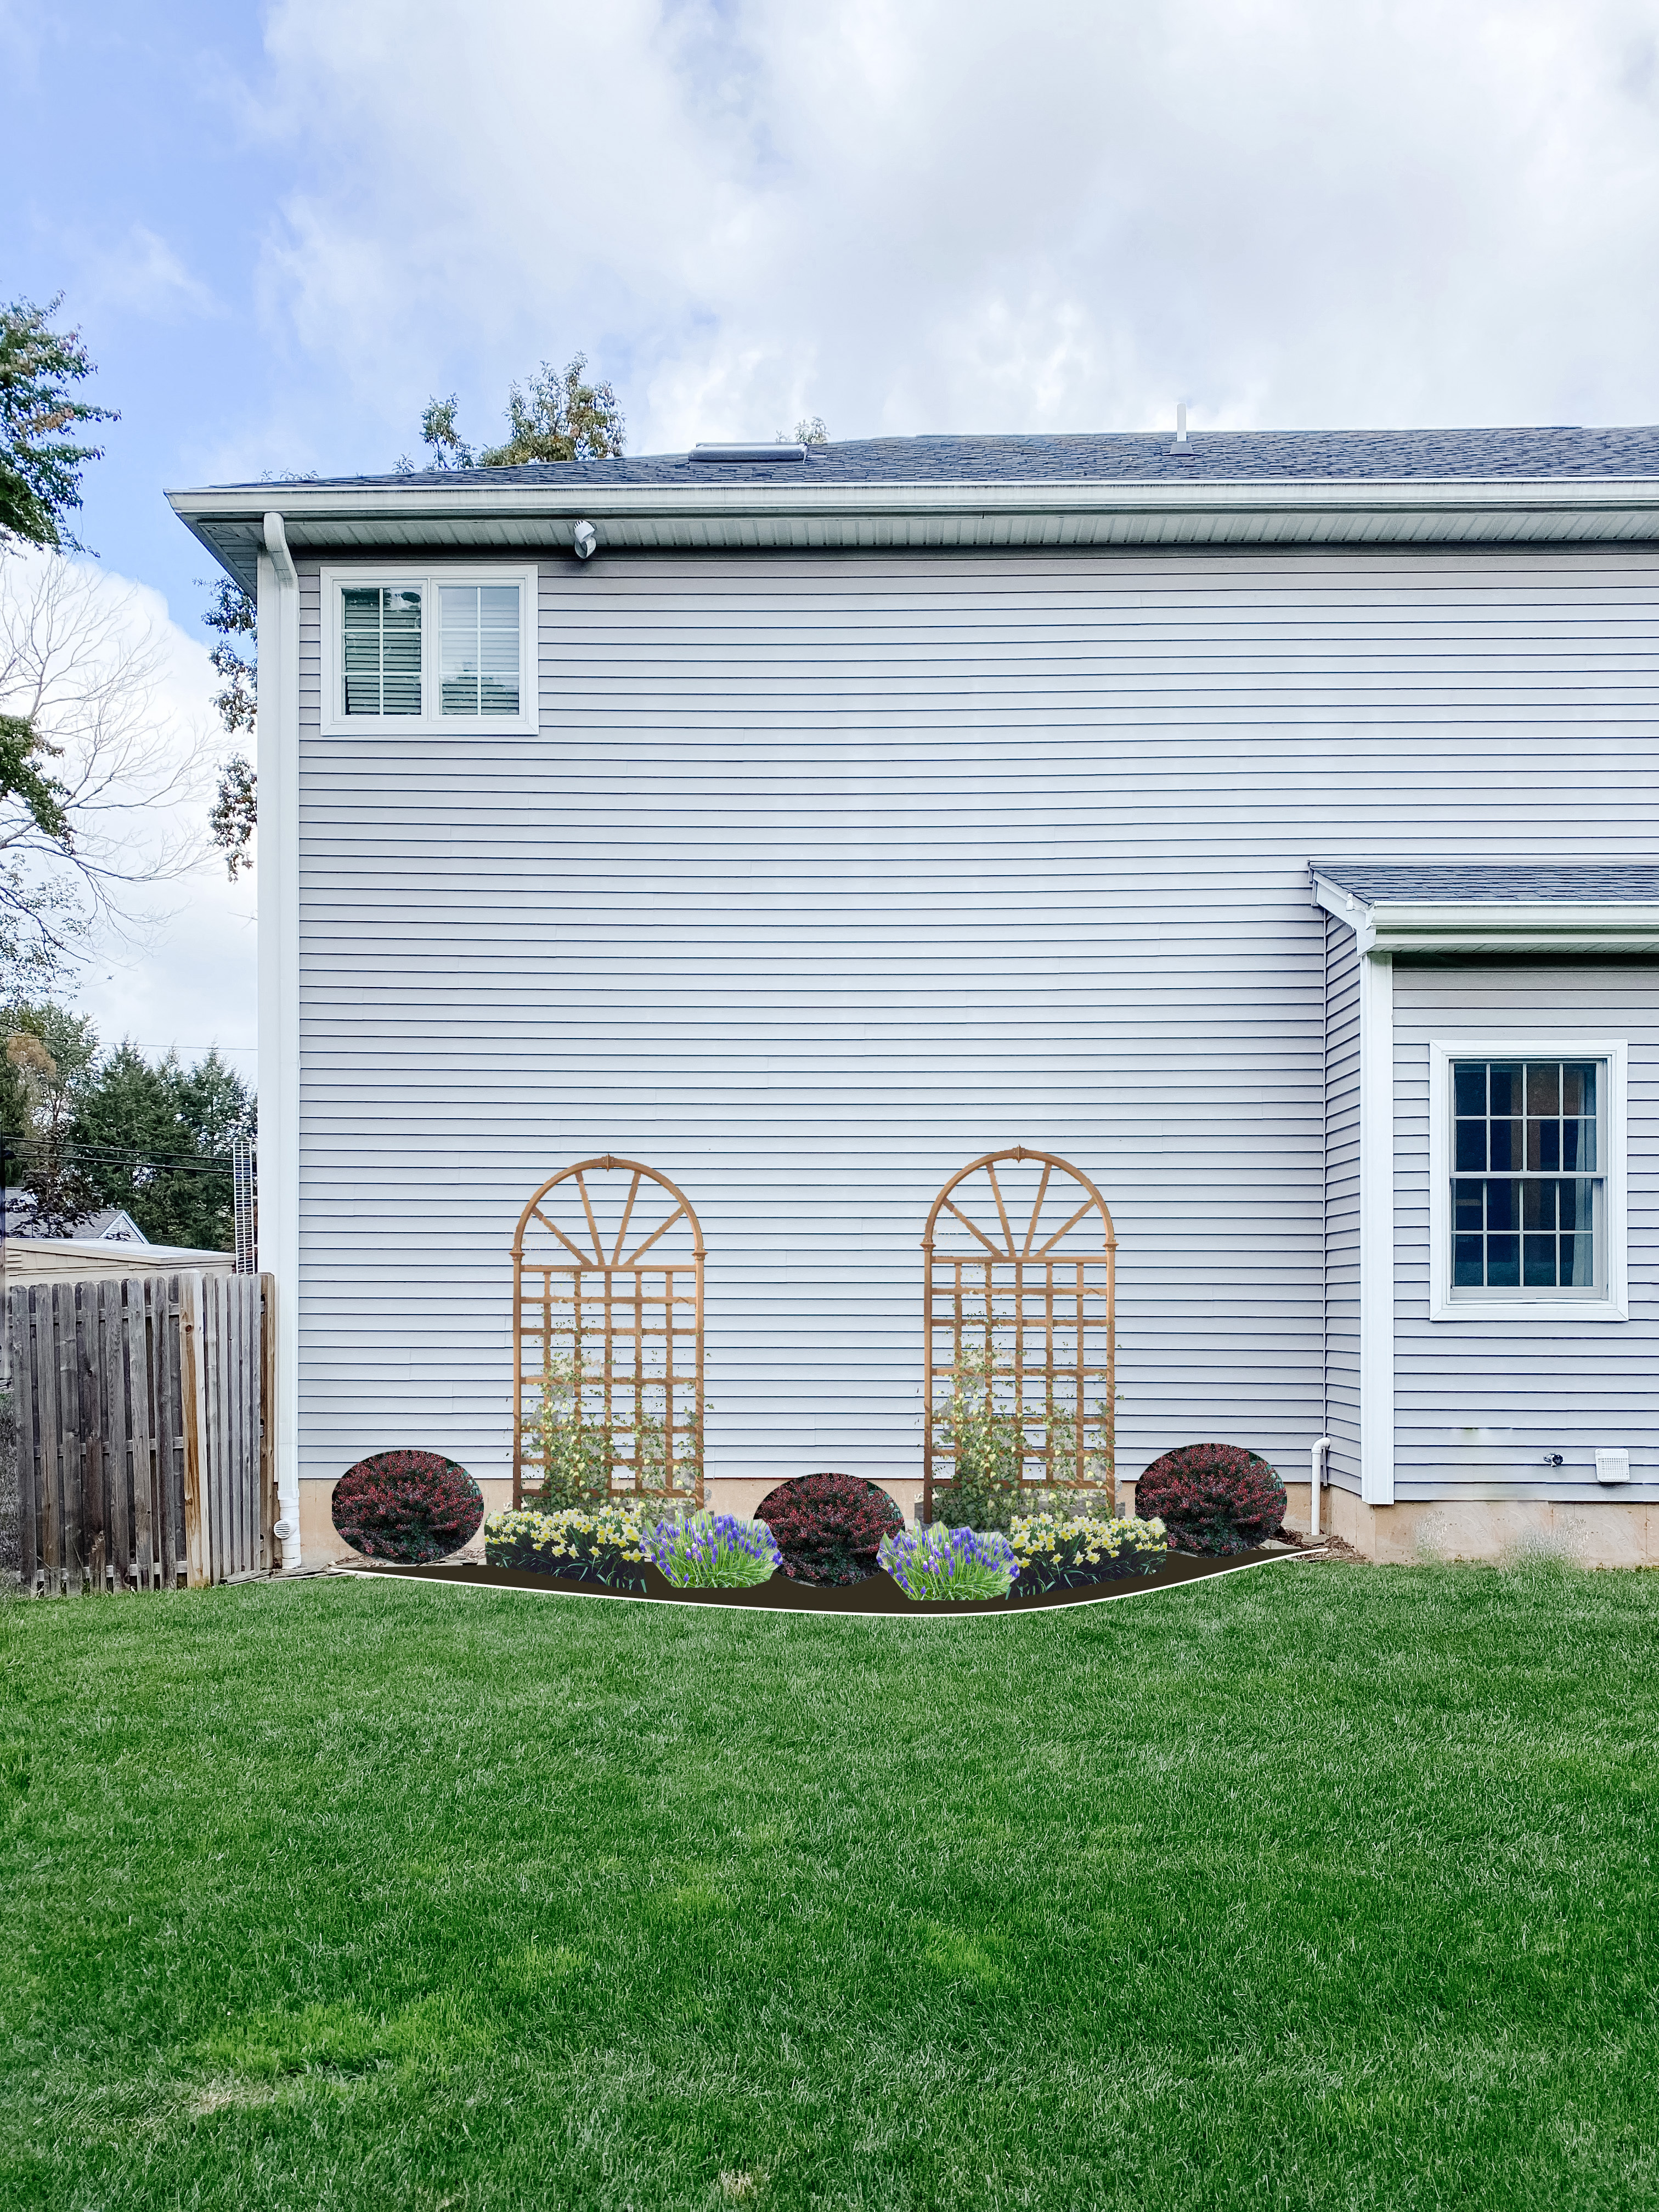
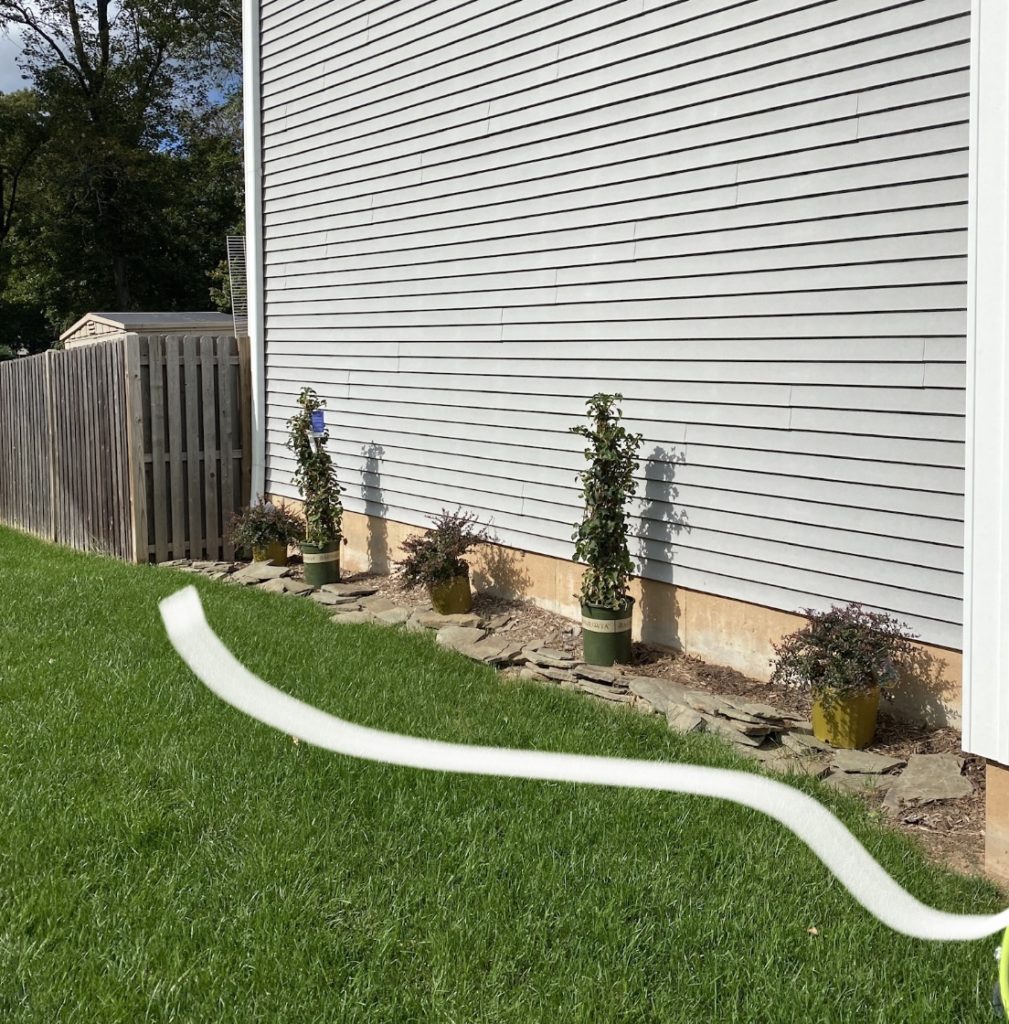
In the middle of my yard, there is a garden bed (about 22’ long) that is a complete blank slate. I’ve always wanted to add landscaping here – but to be honest, I just didn’t know where to begin. Since the wall is so large with no windows or any visually interesting details, I knew I wanted more than just flowers or hedges… so I decided that adding a mix of climbing plants with a modern-ish trellis; smaller shrubs and grasses that will last through the fall season; and bulbs that will bloom in the early – late spring season will yield a year-round solution – hence the “everblooming garden” idea!
TIPS FROM THE GARDEN PRO
Since Amy is a gardening pro, she gave me advice about what to consider. I originally wanted to do a wall-mounted diamond-trellis – but my house has vinyl siding and I did not want to drill into the siding and I didn’t think that the siding clips would be strong enough in the long run. So, I decided to go with freestanding trellis.
“I definitely recommend going to an actual nursery, rather than a big box store like Home Depot. Nurseries have a much better selection of plants (and they take better care of them too!). Plus, they will have staff there that can help you choose the best type of perennials that will work in your climate, and many times they have at least a 1 year guarantee. You’ll want to choose ones that have different heights, and bloom at different times.”
I stopped by my local nursery, Metropolitan Farm – and she was so right… the service was excellent and they were able to advise me on what types of plants could be good options for my climate zone.
CONCEPT BOARD
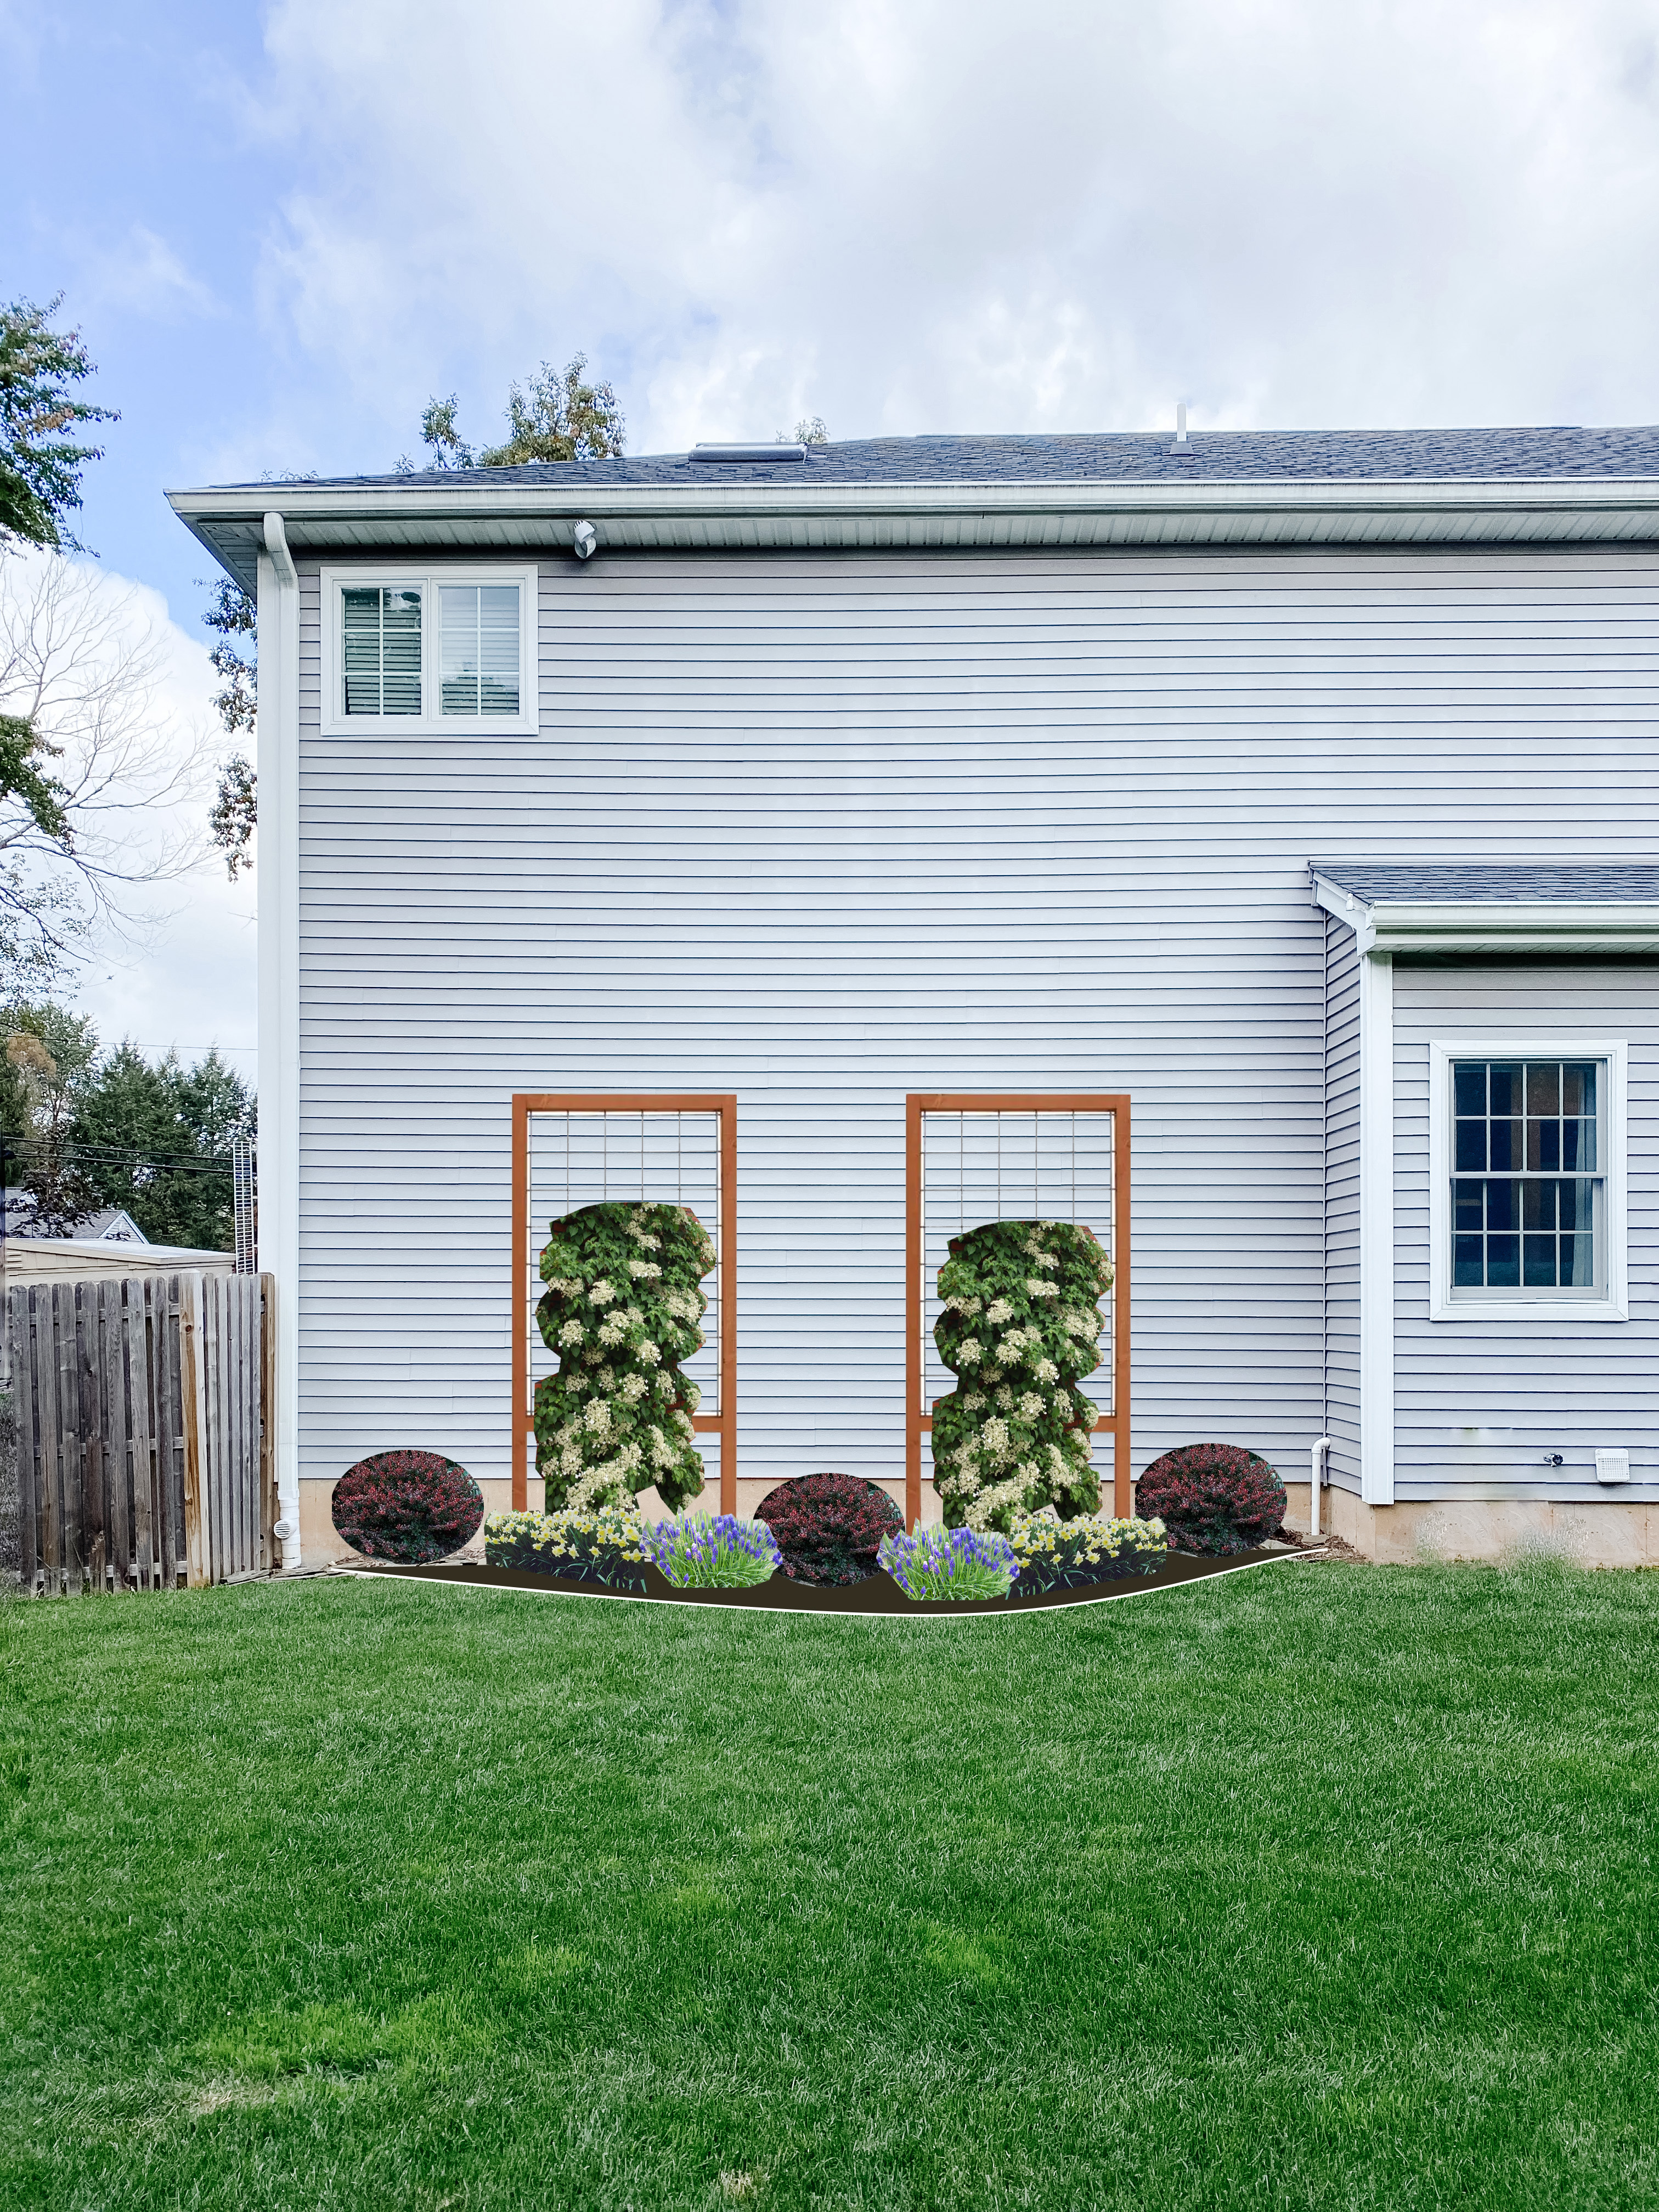
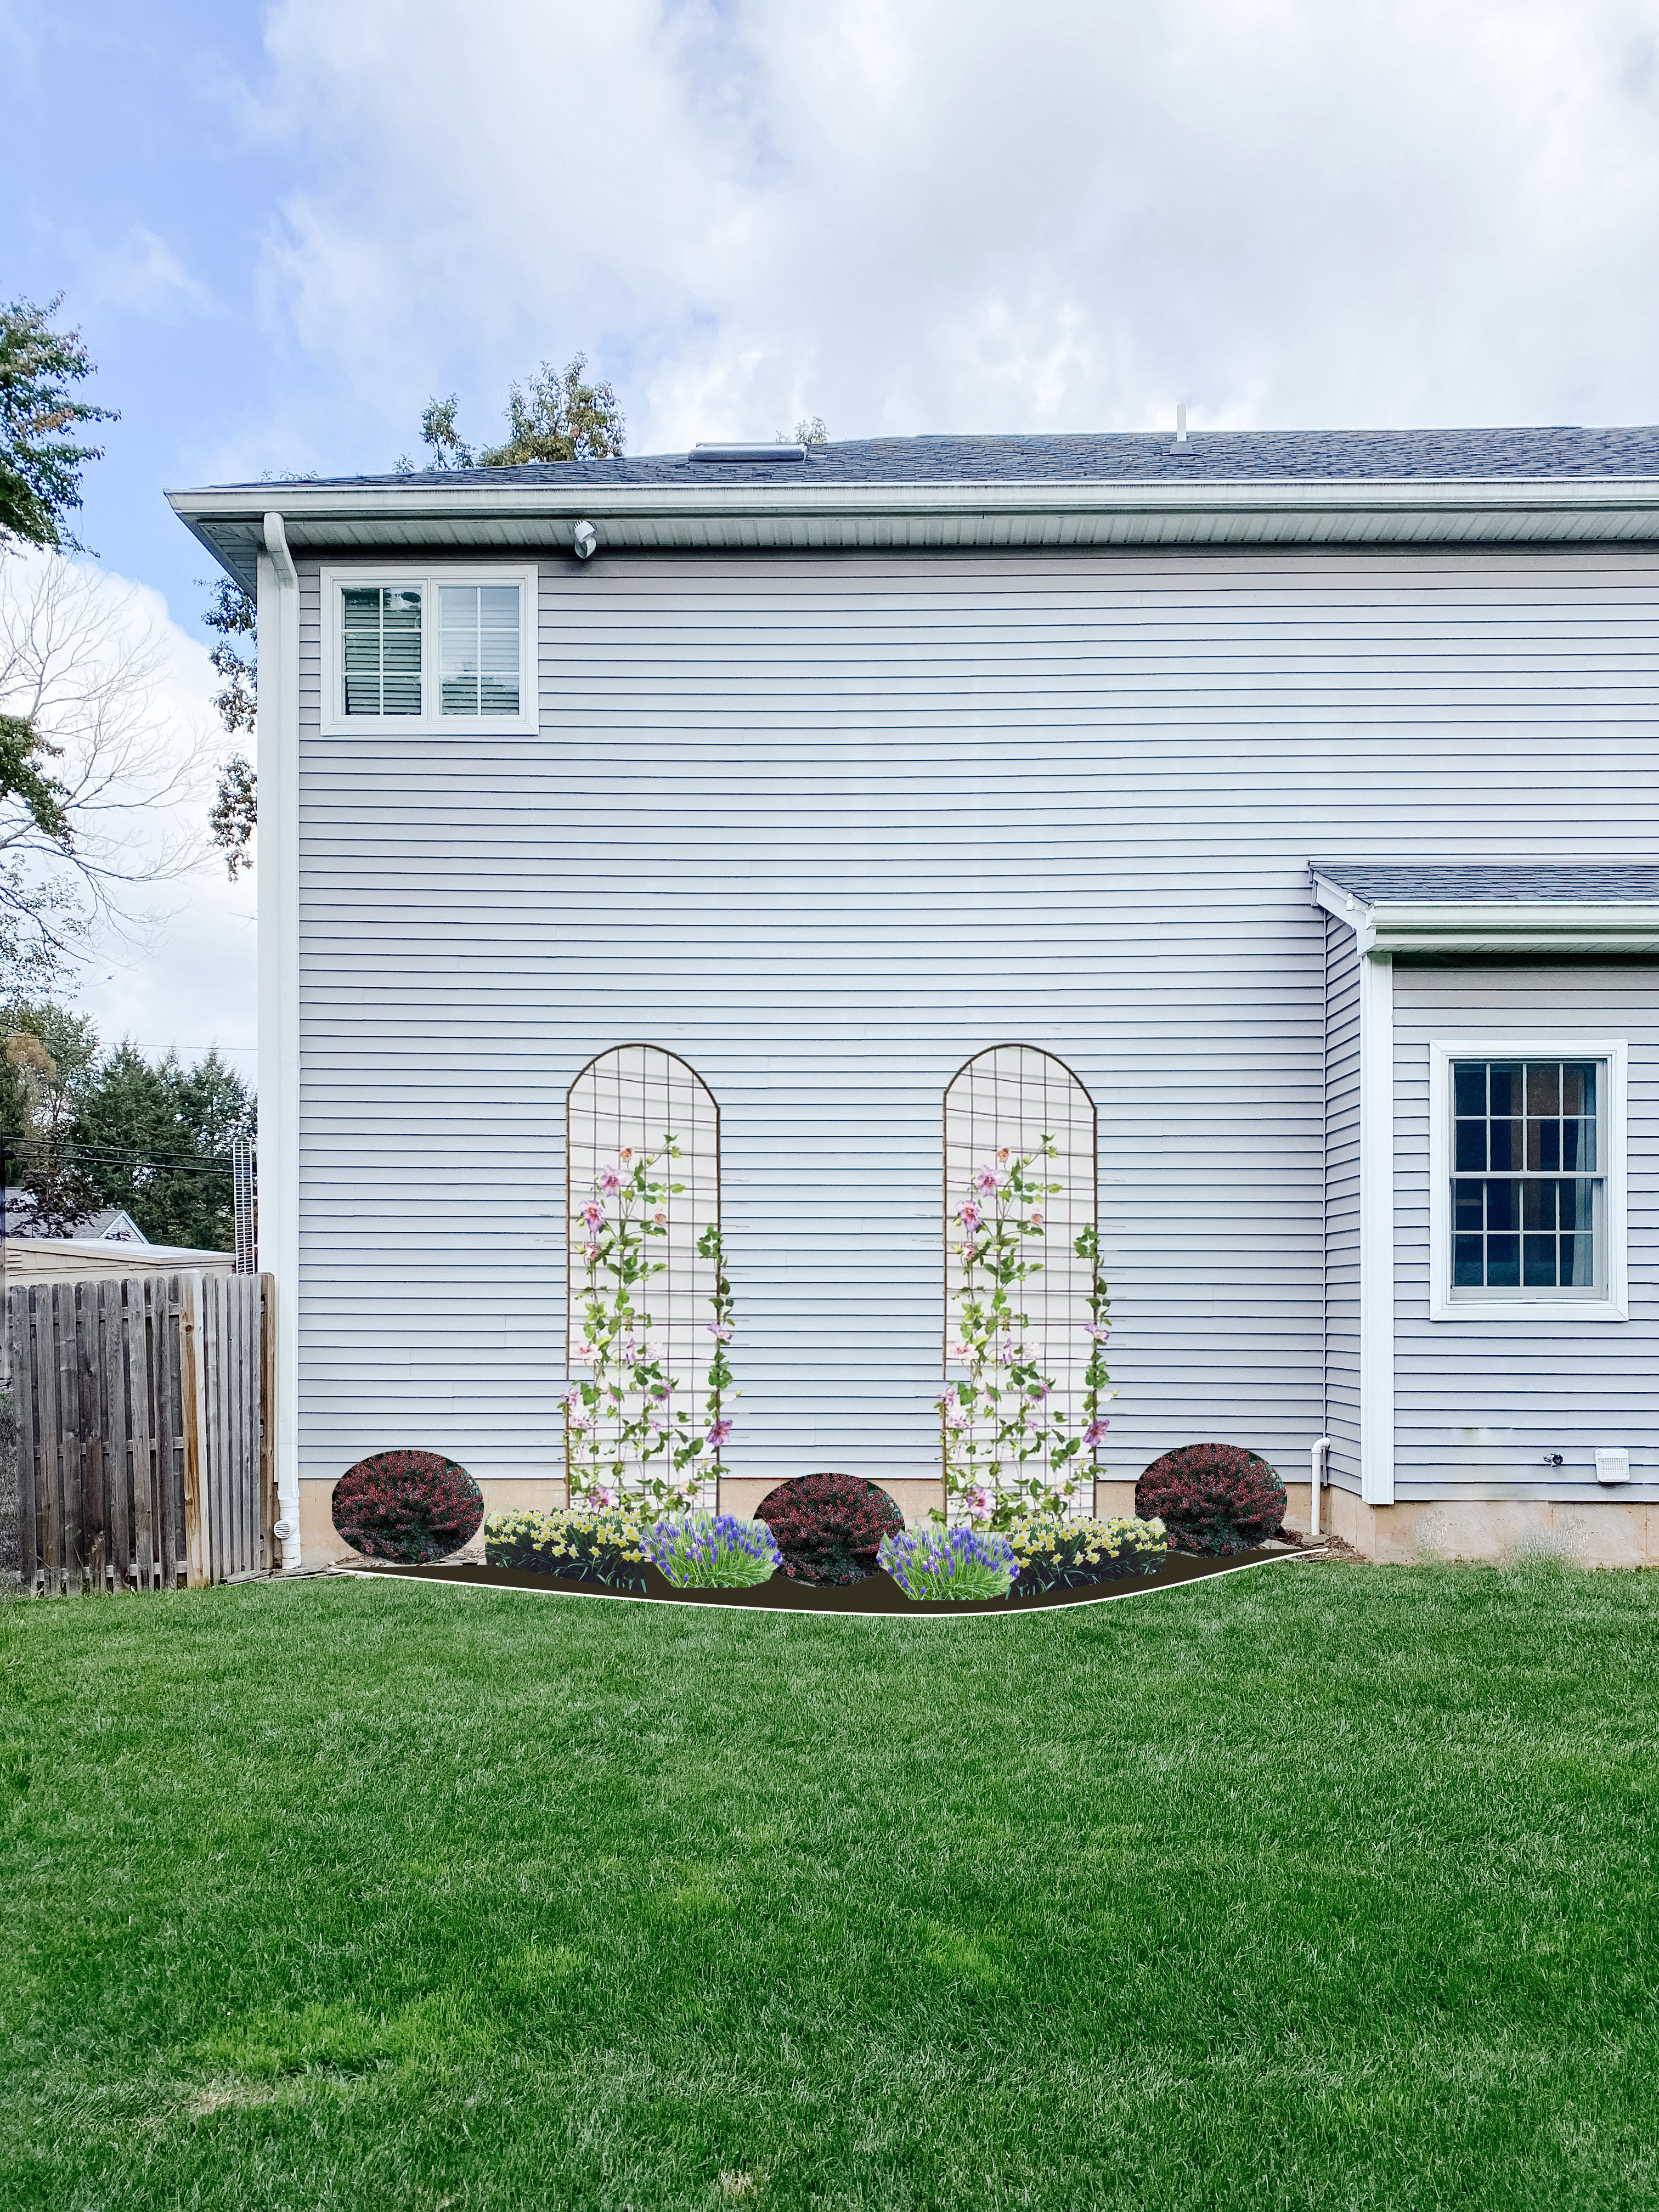
After visiting the nursery, I had a pretty good idea of what I wanted – but I wanted to see how everything might come together before I finalized the design. I searched for a few different trellis options and made a concept board to compare the options. My home has several large arched windows already so I was most drawn to the arched trellis as a nod to other parts of my home.
When I put the options up for vote on my stories, though, the modern trellis was the winner! This option would be a super easy build – and I might actually build some for my raised garden beds next season!
GARDEN BED SHAPE
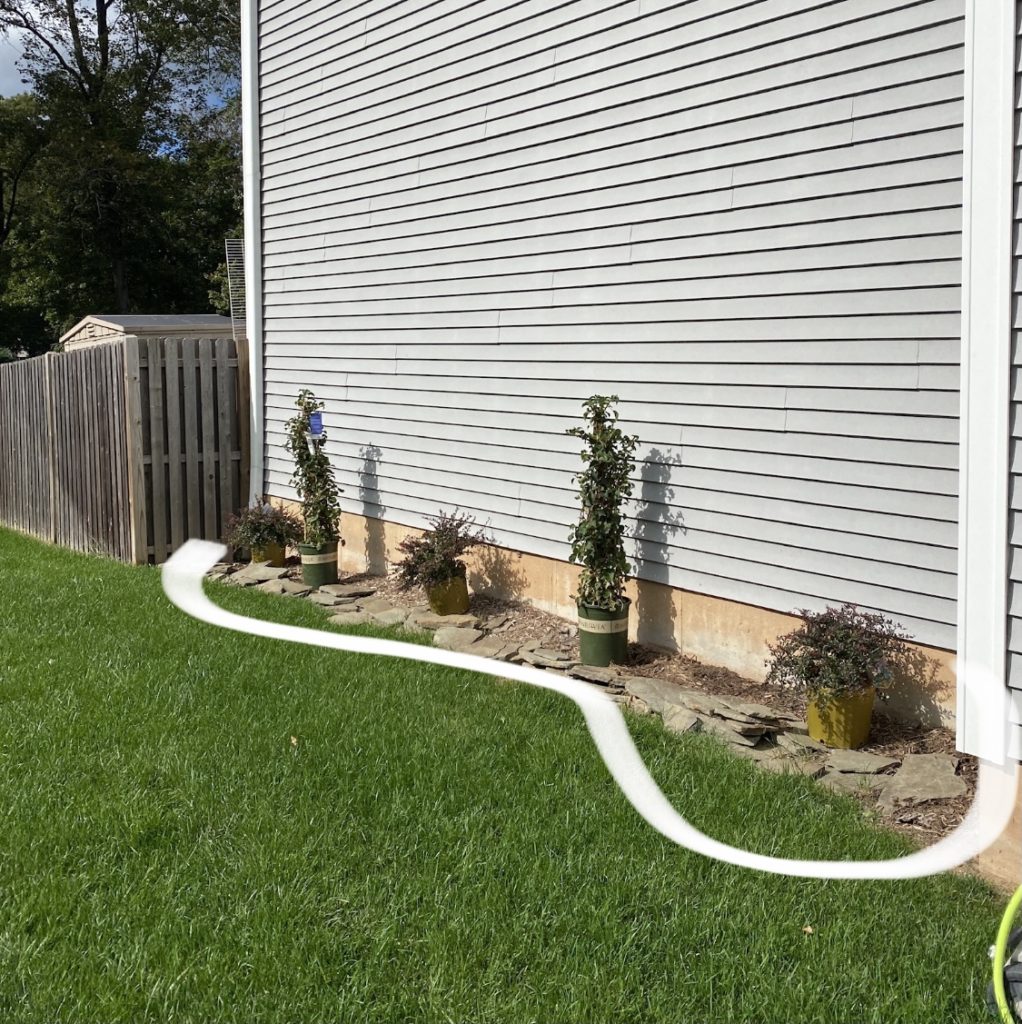
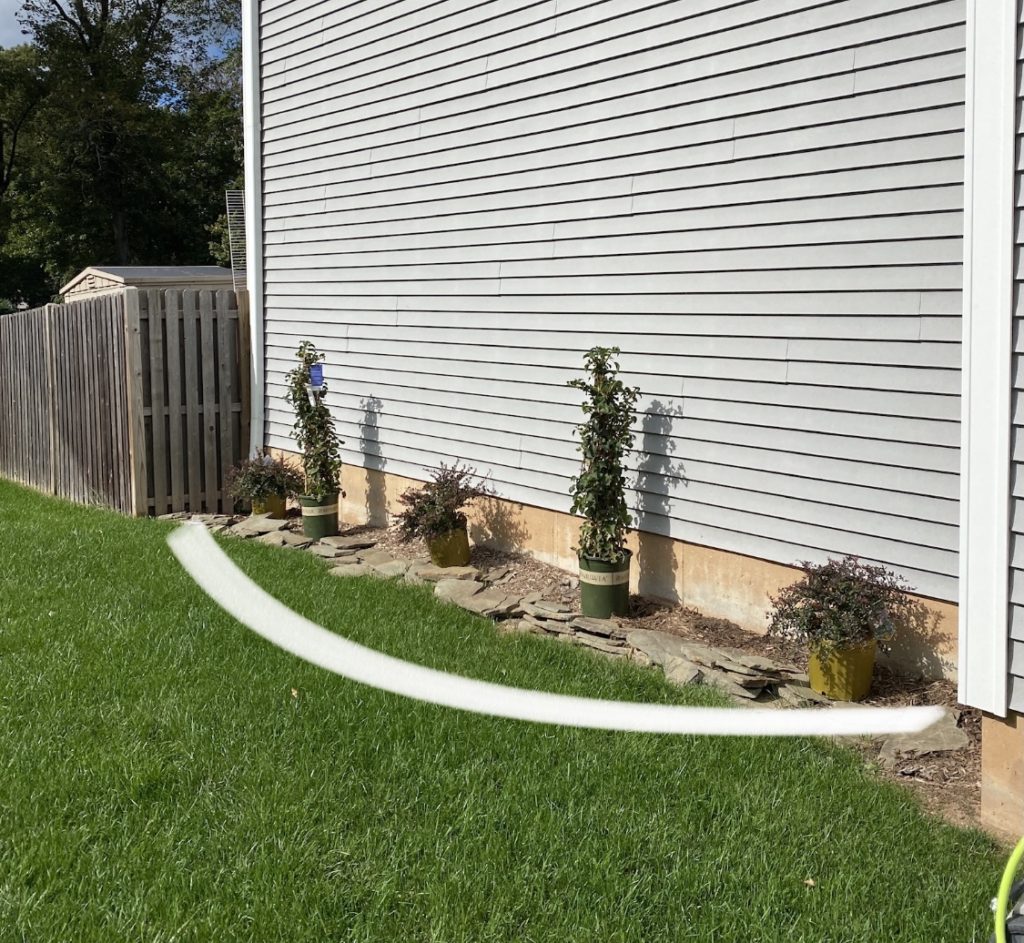
One of the first and most basic decisions I had to make was the shape of the garden bed. It’s currently a very narrow rectangle – and I wanted to make sure I give enough breathing room for the trellis to be away from the siding. Did you know that climbing vines can grow INTO siding and lift it off of your home?!
Here are the shapes I considered:
GARDEN EDGING
On my Instagram stories, there was a hot debate about what edging solutions are best – from simple / nothing to angled pavers to flagstone/belgian blocks. People shared many pros and cons of each option — from strong warnings to never use certain ones (e.g. angled pavers) to true love!
Ultimately, I realized that a critical factor of each person’s opinion is the actual conditions of their property, geography, and climate. What works well in one climate or property may not work well for somebody across the country! Ultimately, these were my priorities for selection:
- LOW maintenance (i.e. will not require frequent power washing as many said angled pavers will)
- Long-lasting (I’ve heard that plastic edging can get destroyed over time from mower)
- Clean and simple aesthetic
I am still deciding but I am leaning towards … simple / nothing. A good friend of mine who is an avid gardener said this is what she has and it is easy to maintain. Next week, I’m going to get started on bringing this vision to life… what do you think so far?
