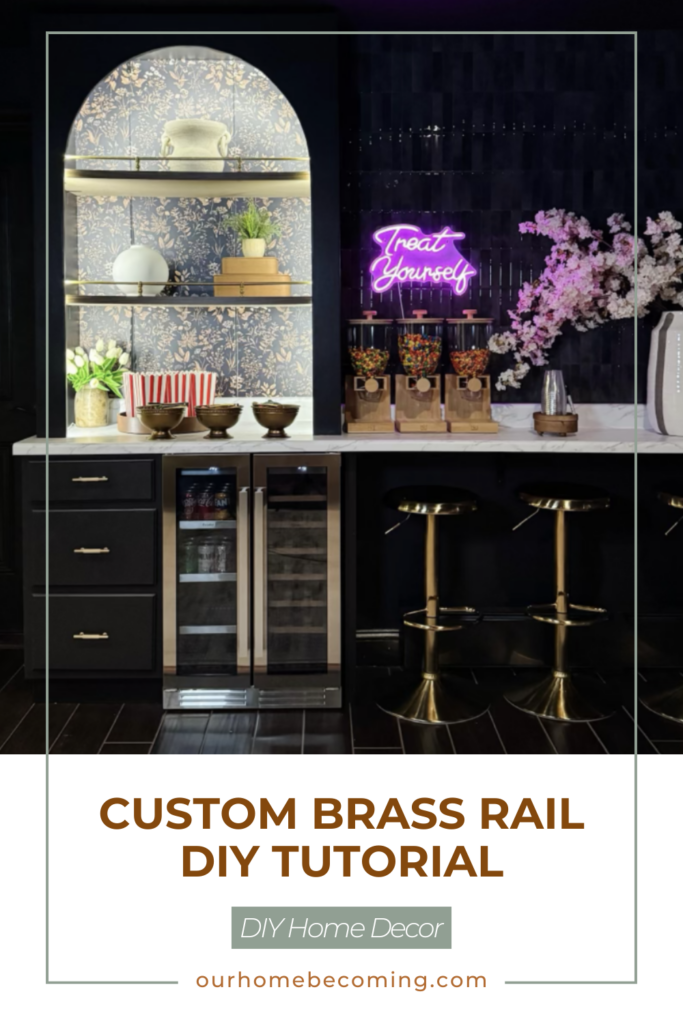
If you’re looking to add a touch of elegance to your home decor, a brass rail shelf is a perfect project. Brass adds a sleek, warm, and unique touch to any space while also offering a timeless appeal. It’s the perfect way to instantly accessorize and upgrade any simple space in your home whether it’s in the kitchen, living room, bedroom, bar, etc.
Once I completed my DIY moody basement transformation, I knew I wanted to elevate it even more to give it a final custom touch, so I started browsing online to see what the options were! I really loved the brass rail products that Rejuvenation and Pottery Barn carried, but the price was a bit higher than what I wanted to spend. So using those options as inspiration, I went into my DIY toolbox and started researching alternatives to make a similar look on a budget! I ended up saving so much, and was so happy with my result – for context, I spent a total of $130 and had I bought it from Rejuvenation, I would’ve spent more than double for only 2 railings! This ended up being a fun, cost-effective and beginner friendly DIY and I’m excited to share all of my findings, tips and tricks I learned along the way!
So whether you’re customizing a moody basement bar like me, or creating something completely unique, or just want to upgrade for a different aesthetic – this budget friendly DIY brass shelf tutorial will guide you through every step to build your own version of a stylish shelf rail.
Brass Rail Supplies:
- Ball Heads
- Ball Heads for End Posts
- Brass Rods
- Brass Necks (Posts)
- Dewalt Cordless Drill
- Wood Glue
- Mini Toothpaste
- Rubber Mallot
Shop My Styled Shelf Decor:
- Ceramic Vase with Handles
- Round Ceramic Vase
- Faux Tulips
- Stacked Leather Keepsake Boxes
- Brass Decorative Bowl
- Circular Leather Tray
Step 1: Assemble the Brass Rail Frame
Once you have all of the parts based on the dimensions of your shelf, start by screwing the ball heads into the brass necks. Once connected, use the brass rods to connect the ball heads. Depending on your shelf size and needs, you can customize the length of the rods for the perfect fit. Be sure to adjust the size as needed to create a secure and well-aligned shelf frame.
Step 2: Prepare the Wooden Dowels
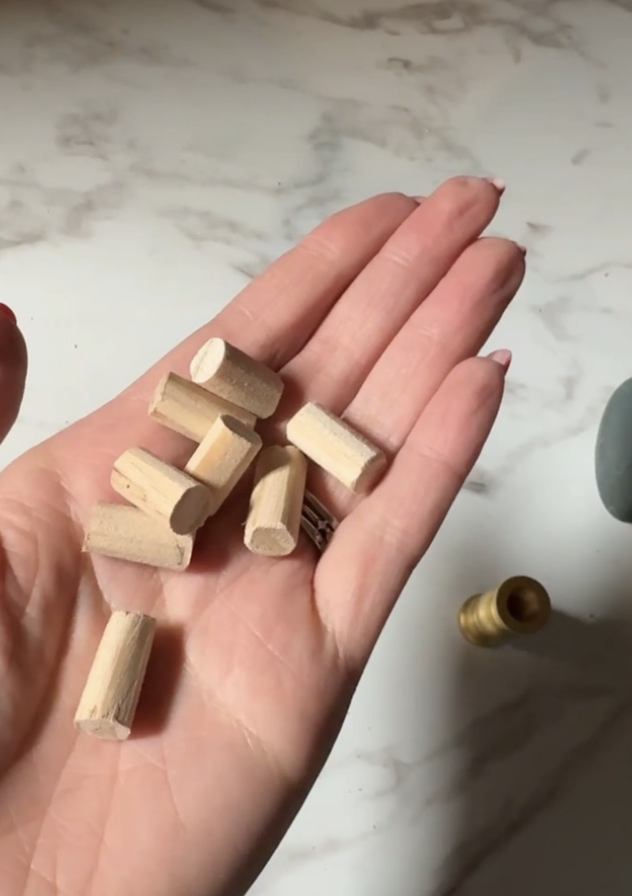
Next, cut your wooden dowels to about 3/4″ in length. Insert them into the bottom of each brass neck so that they stick out approximately 1/2″. These dowels will help align and stabilize the rails when attaching them to your shelf.
Step 3: Temporary Placement with Toothpaste Stamps
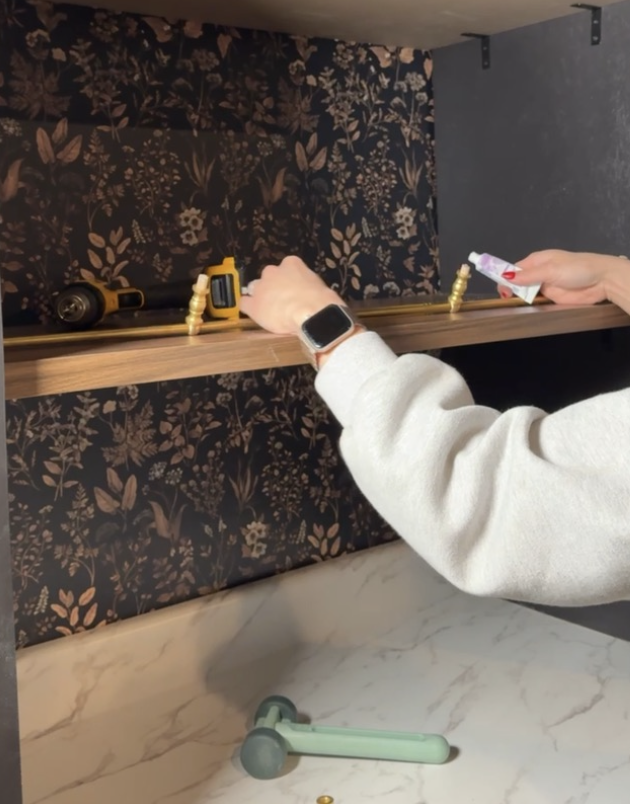
To ensure your brass rail shelf is placed exactly where you want it, add a small dab of toothpaste to the bottom of each wooden dowel. Carefully position the brass rail on top of your shelf (in my case I used an IKEA walnut shelf but feel free to use any shelf you prefer – just note that you may have to adjust the length of the wooden dowel for the thickness of your shelf). The toothpaste will leave temporary marks on the shelf (shown below), allowing you to adjust the placement before drilling.
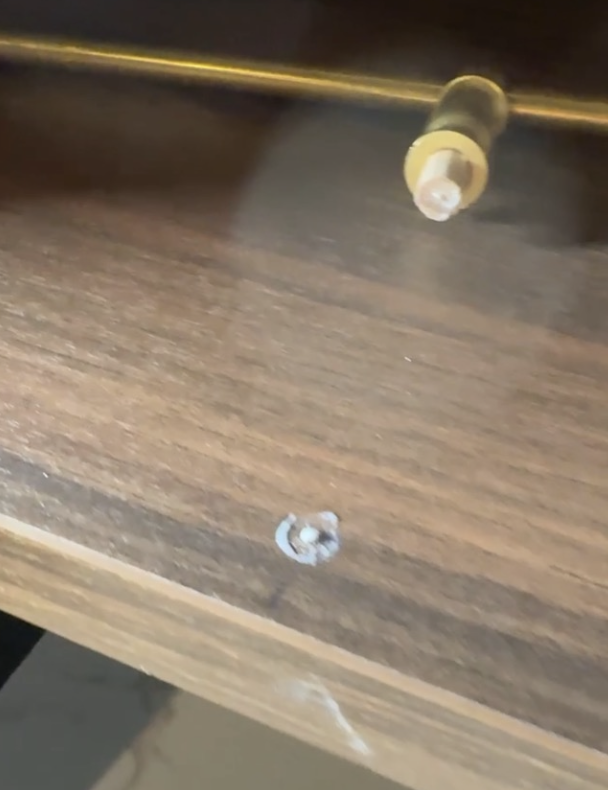
Step 4: Drill Holes in the Shelf
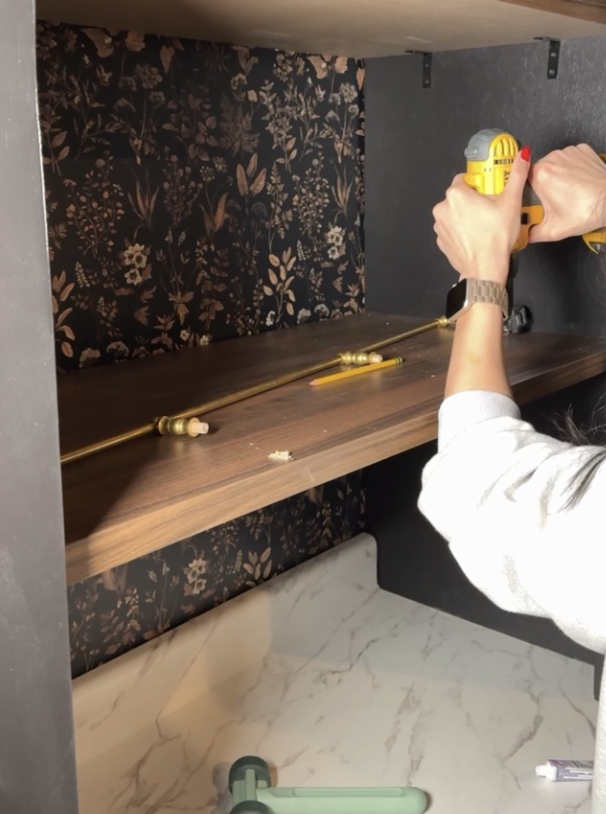
Once you’re happy with the placement, use a cordless drill to carefully drill holes into your shelf where the wooden dowels will fit. Make sure the holes are straight and properly aligned for the best results.
Step 5: Apply Wood Glue and Insert Brass Rails
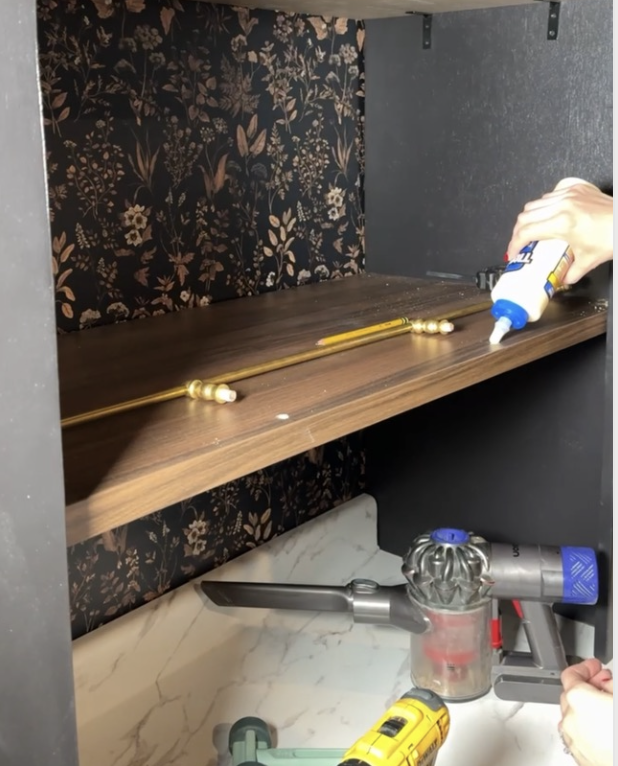
Now it’s time to secure the brass rail shelf in place. Apply a small drop of wood glue into each of the holes in the shelf. Insert the assembled brass rail into the holes, ensuring the wooden dowels fit perfectly.
Step 6: Secure the Rails
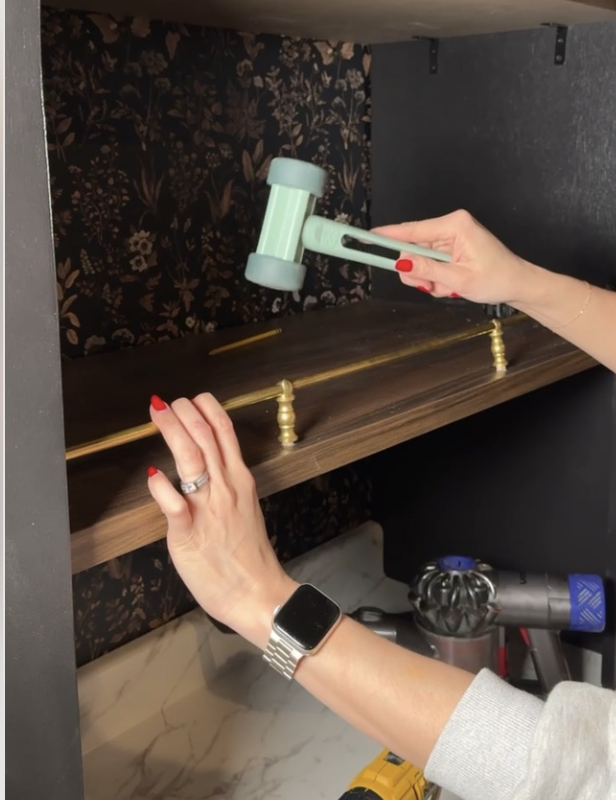
To finish off your project, use a rubber mallet to gently tap the brass heads and dowels into place. This will ensure everything is securely fastened and aligned for a professional finish.
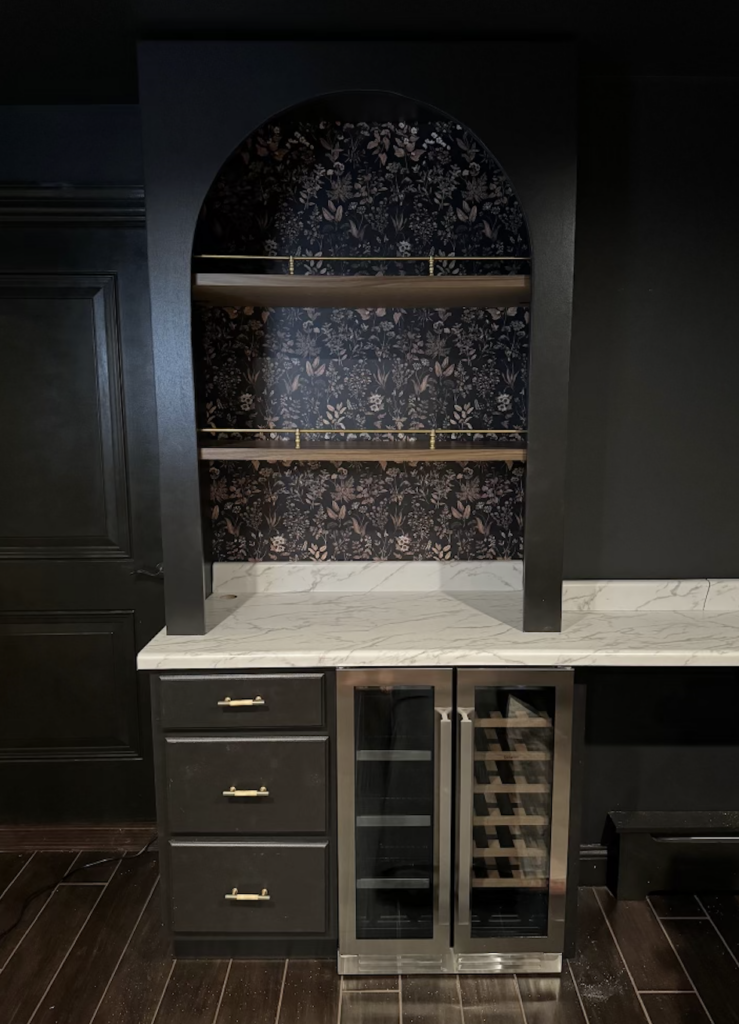
And there you have it – your very own brass rail shelf, ready to add a sophisticated touch to any room! This DIY project is an easy way to incorporate brass home decor into your space, and you can customize the size to fit any shelf or area of your home.
With just a few tools and materials, you’ll have a stunning shelf that adds both function and style. Whether you’re outfitting a living room, office, or kitchen, a custom brass shelf is an elegant and practical way to showcase your style.