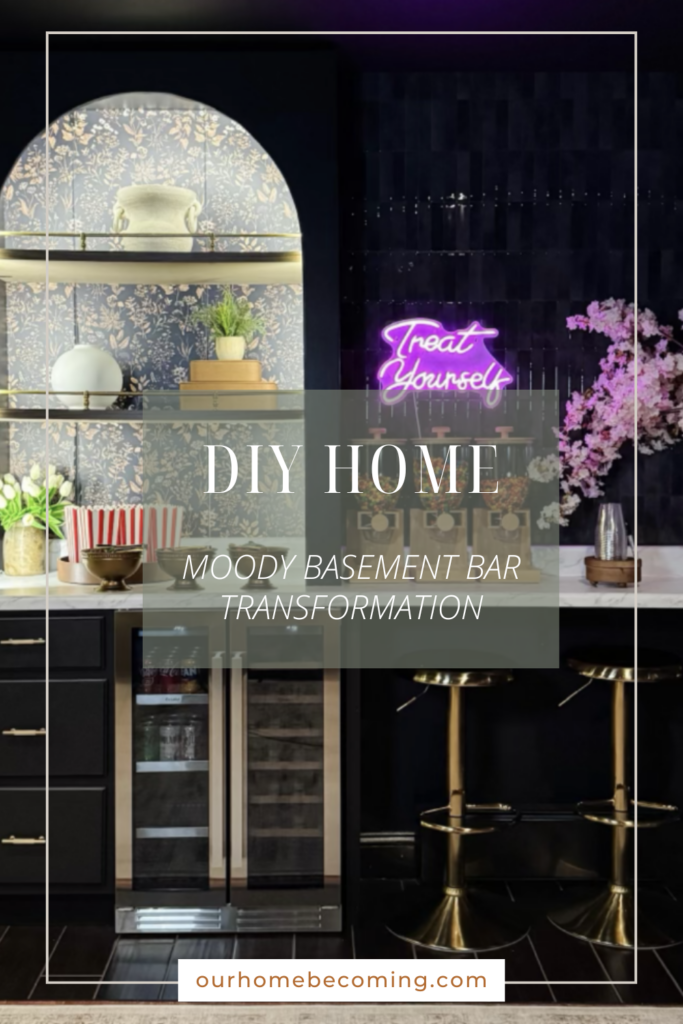
Our family loves hosting so when deciding what elements I wanted to add to my basement, I knew I wanted to add a moody basement bar. Creating your own DIY basement bar is an exciting and rewarding project. Not only does it add value to your home, but it also provides a perfect space to entertain guests. I’ve compiled a detailed, step-by-step guide on how I made my custom basement bar, including the materials I used and where I found them. This project incorporates pre-assembled cabinets, a faux marble countertop, and some clever solutions to make the build cost effective, functional and stylish.
Build Supplies for Your Moody Basement Bar Transformation:
- Wood Edge Bonding
- Iron
- Laser Level
- Pre-assembled cabinet drawers
- Faux marble countertop
- Faux marble countertop edge piece
- 3/4″ Plywood
- Paint primer
- Sherwin Williams Black Magic Paint
- Circular Saw
- Jigsaw
- L-shape brackets
- Wood Glue
- Pole Wrap
- Heavy duty counter brackets
- Floral wallpaper
Step 1: Pre-plan, Measure & Sketch Out Your Moody Basement Bar Goals
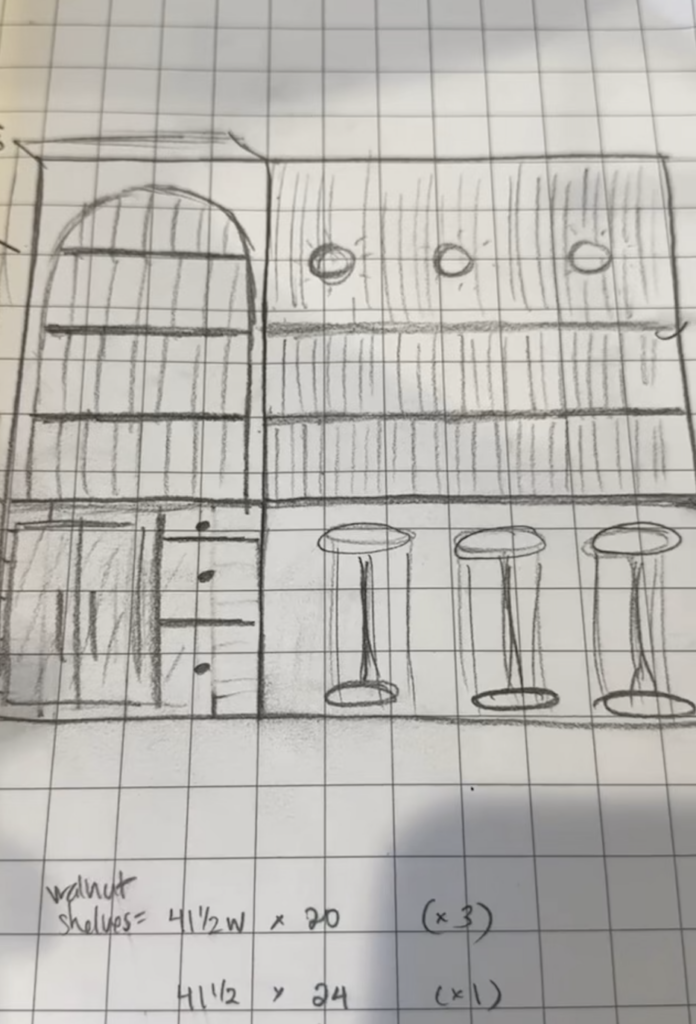
The first step is always planning. Take measurements of your available space and think about what elements your bar needs. A mini-fridge and drawers are two essential components of any basement bar setup. Start by sketching the design, keeping in mind the specific dimensions for your mini-fridge, drawer cabinet, and countertop.
Tip: Make sure you account for plumbing or electrical needs like power outlets for the fridge.
Step 2: Gather Materials from Home Depot & Amazon
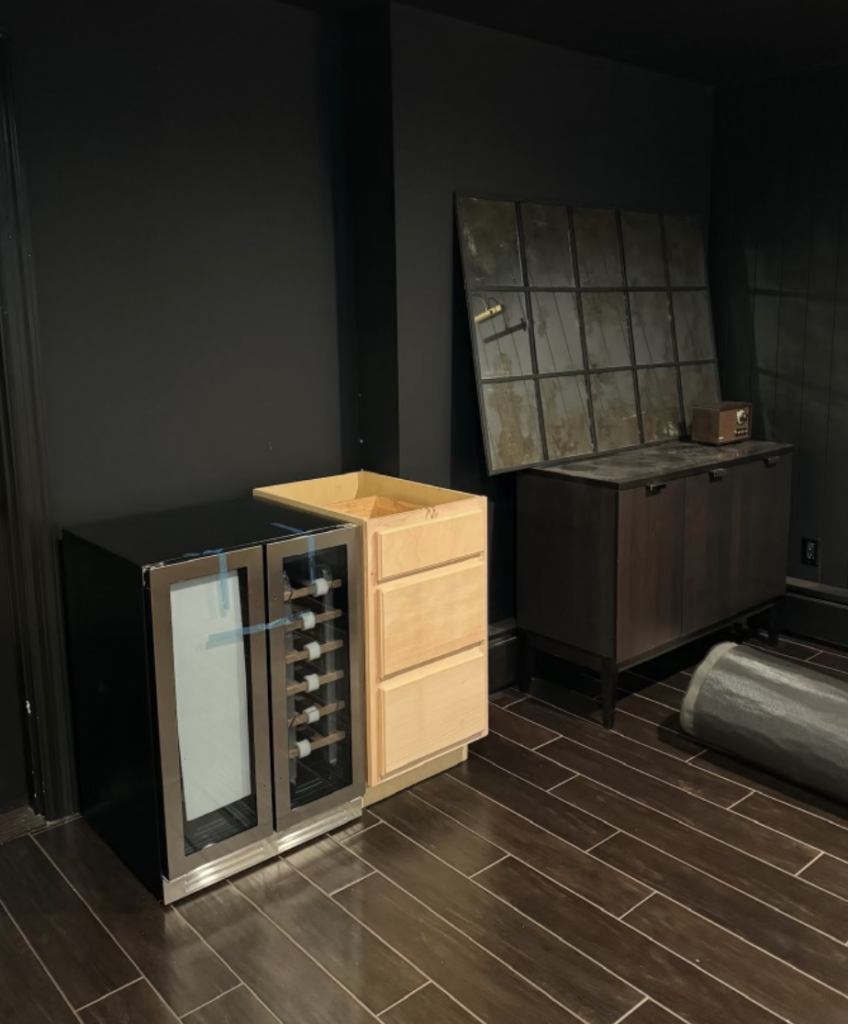
With your design in hand, head over to Home Depot and Amazon to shop for all your materials. If you’re looking to shop online, feel free to use the links directly in the supplies/materials list above. When working on DIY projects, I find that Home Depot is the most cost effective and efficient way to get started. Based on my sketch and preferences, I went with a 3-drawer cabinet to put next to my mini fridge.
Tip: Home Depot has unfinished wood cabinetry that you can choose from based on your own needs and paint yourself. I also used this option when I was DIY-ing my laundry room and loved how it turned out!
For the archway shelf that I DIY-ed to add above the drawer and mini fridge, I bought 3/4″ plywood (which I always use for building cabinets).
For the countertop, I knew I wanted the marble look without the hassle (or cost) of a real one, so I also bought a pre-cut 10 ft faux marble (laminate marble) countertop from Home Depot and cut it to size myself.
Tip: Home Depot does offer 2 free “cuts” which I recommend, especially if your space does not require as long of a countertop and it also will help to better fit in a standard SUV. This is why it’s extra important to make sure you pre-sketch and measure out your space before shopping!
Step 3: Assemble the Cabinet Frames
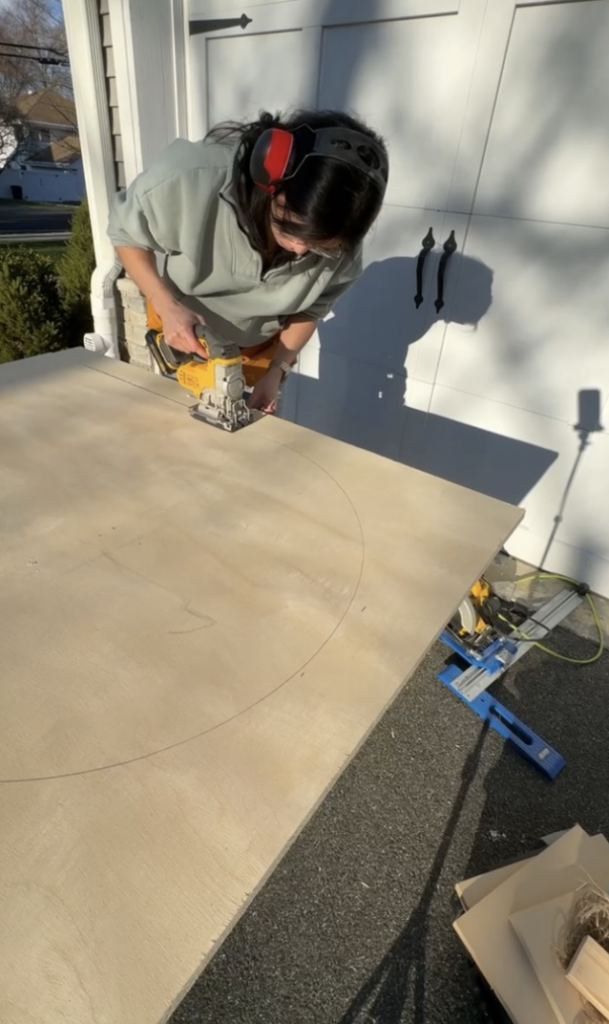
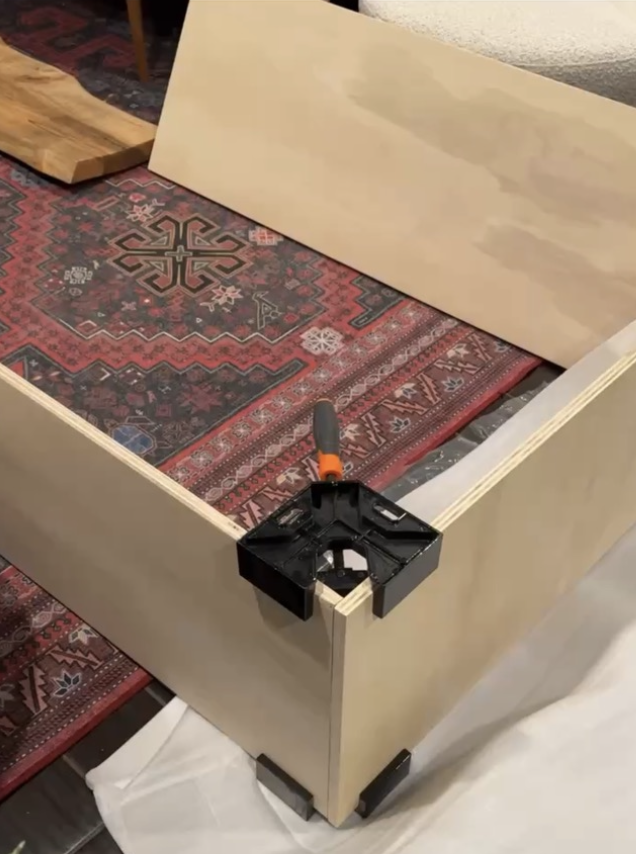
Next, it’s time to assemble the cabinet, which is fairly straight forward using the instructions provided. For the archway frame, I used a circular saw to cut the rectangular portion from the 3/4″ plywood to size, and assembled using 90-degree corner clamps and wood glue to secure the plywood pieces together. For the arch, I made sure to measure and trace the arch before using a jigsaw to cut. Once the arch was cut and ready, I used wood glue and nails to fit it into the rectangular frame.
Step 4: Finish the Wood Edges
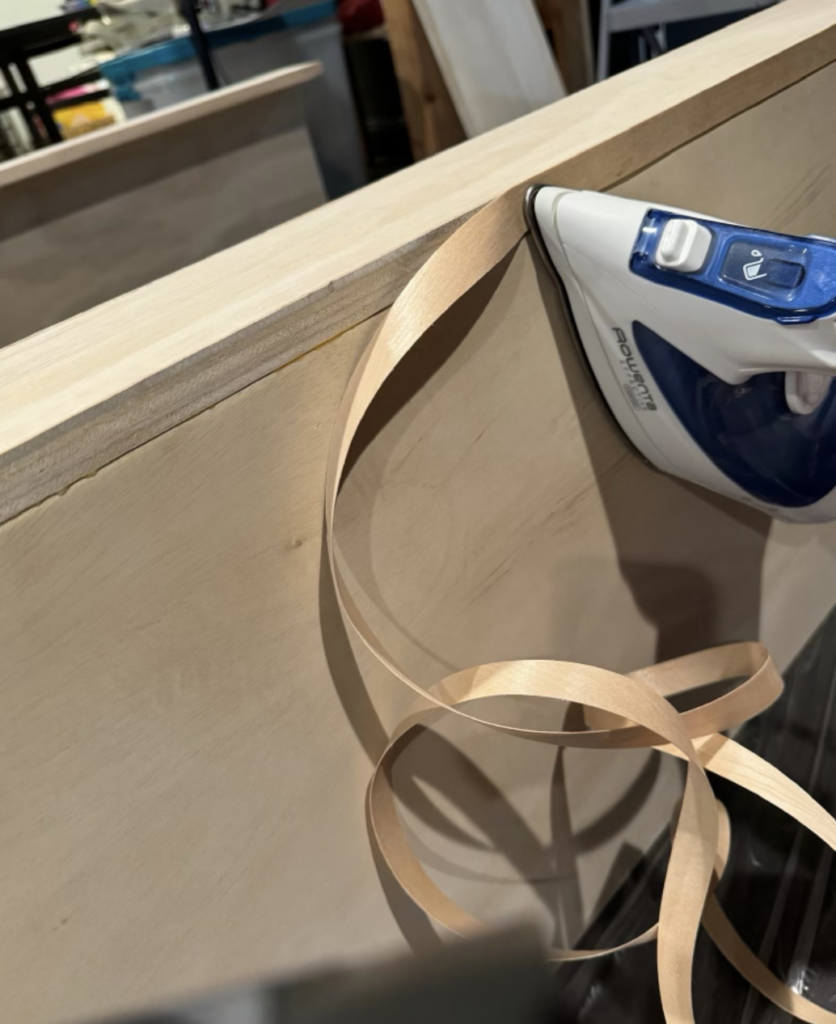
To finish off the plywood edges, I used iron-on edge banding for a clean and professional look. This is a great way to hide raw plywood edges and make them look polished.
Step 5: Add the Pole Wrap & Trim
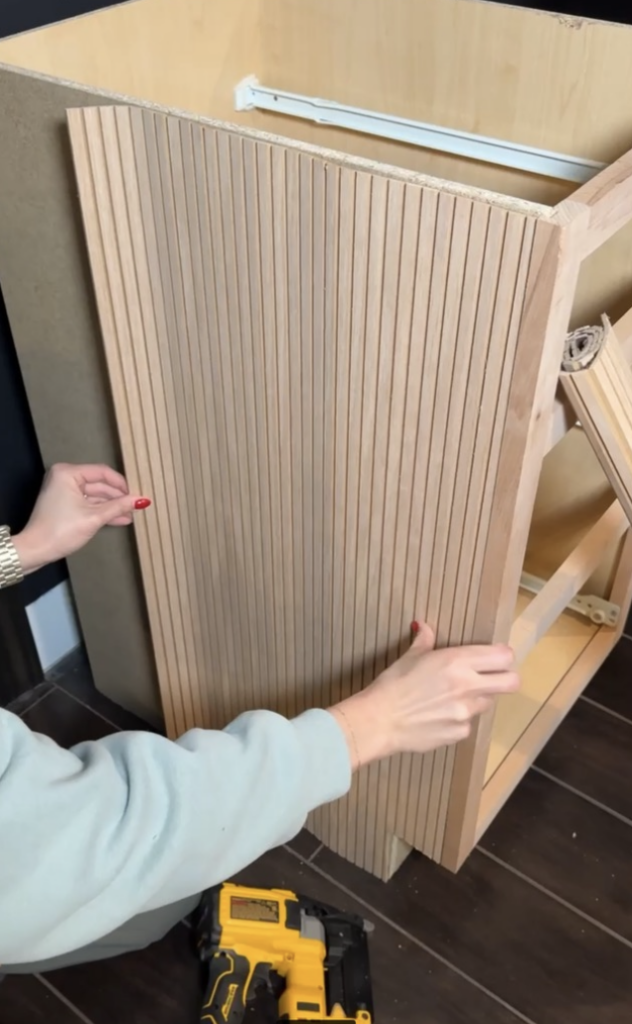
I then added pole wrap on the exposed side of the drawers, securing it with wood glue and nails. To complete the look, I attached a baseboard molding to the trim for a clean, finished appearance. Once my cabinets were complete, I made sure to refer back to the sketch and measurements to cut a rectangle in the back of the cabinet for easy access to the outlets (in my case, for the mini fridge).
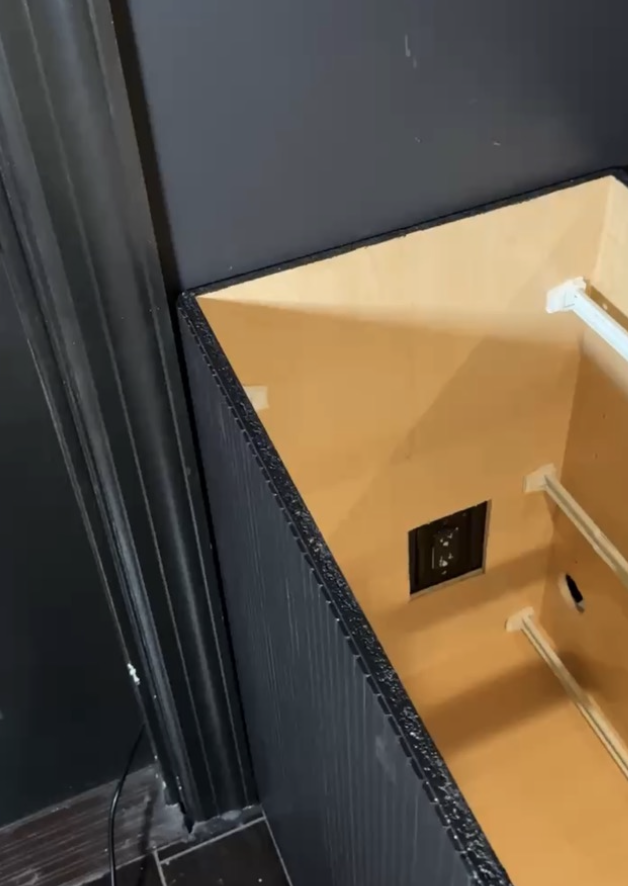
Step 6: Prime & Paint the Cabinets
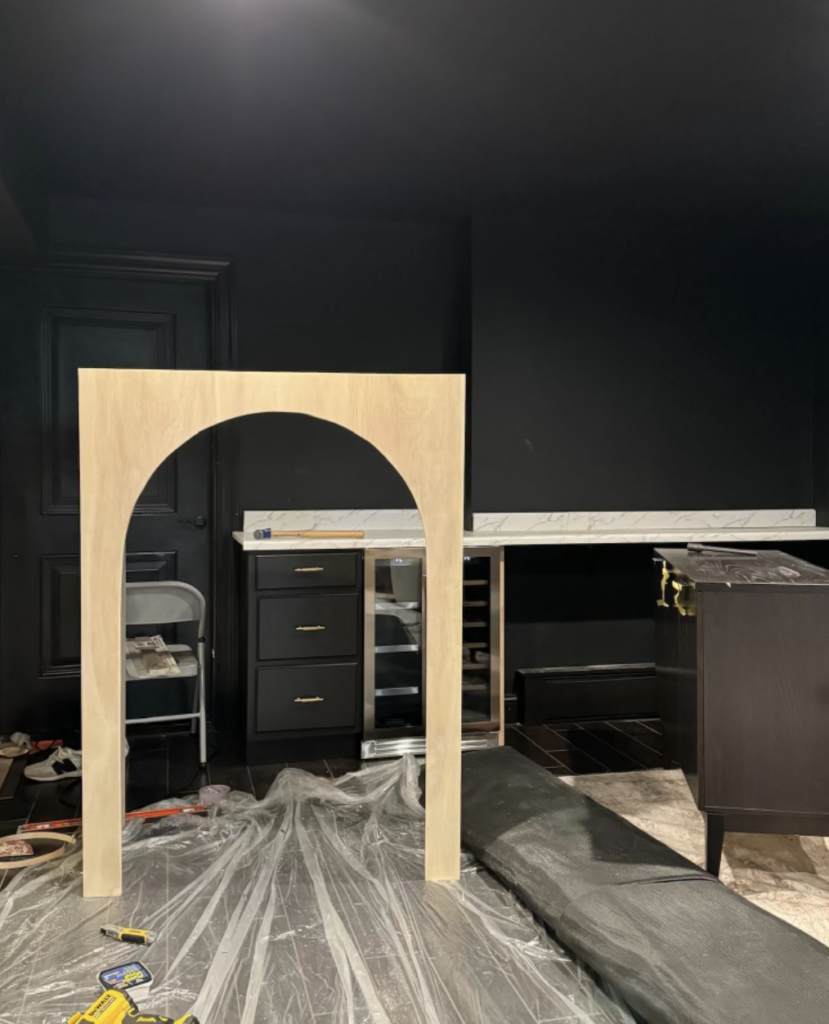
I primed the cabinets using Zinsser Bulls Eye Primer (although any wood primer will work) and then painted them with Sherwin Williams Black Magic. This is my go-to soft, neutral black that I’ve used throughout my basement and front door – I love it because it adds a subtle touch of sophistication to any space!
Step 7: Install the Faux Marble Countertop
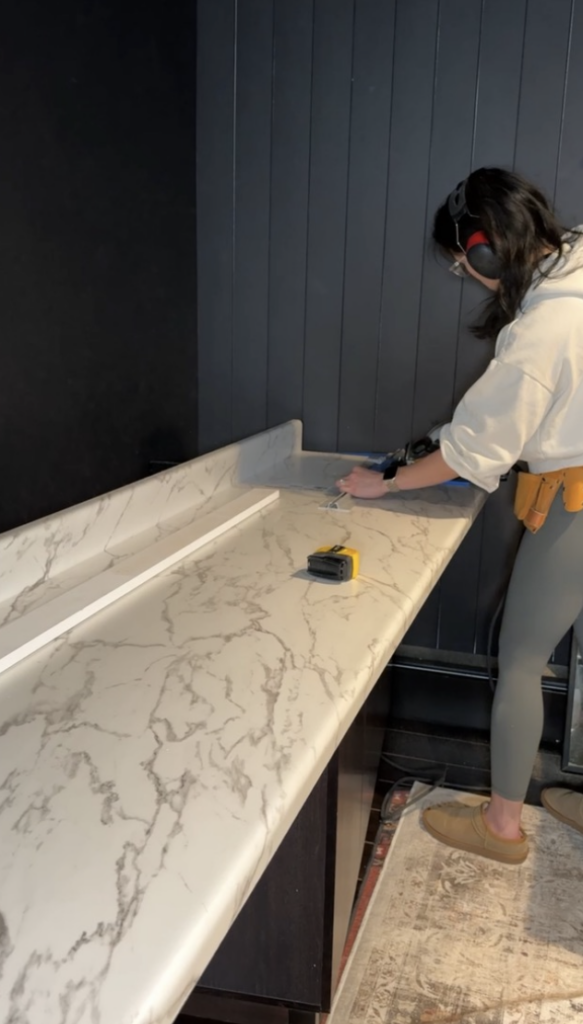
After painting the cabinets, I turned my attention back to the faux marble countertop. This was an affordable, budget-friendly option, and I had to cut the pre-made countertop to fit the L-shape of the bar area. I also cut and reattached the trim to ensure the countertop was flush against the wall. For an elevated touch, I also added faux marble edge bonding.
Step 9: Ensure Level Countertop
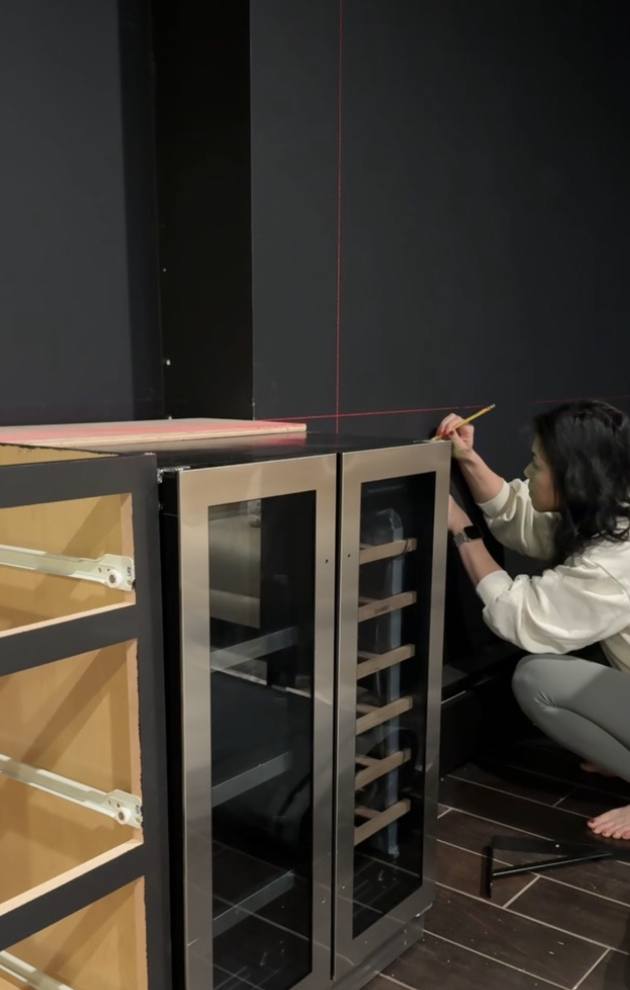
To make sure the countertop was level, I ended up adding a piece of plywood under the fridge area (since the drawers were slightly taller than the fridge). Using a laser level, I double-checked that everything was perfectly aligned before securing it in place.
Step 10: Secure the Countertop
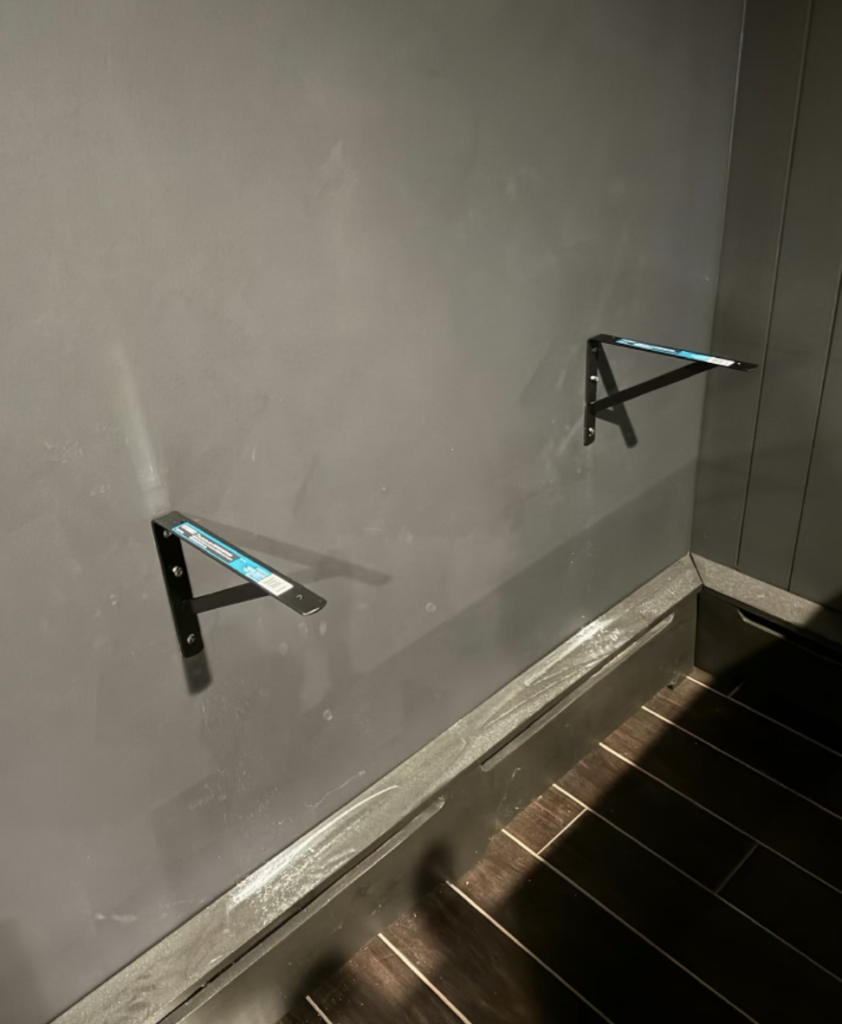
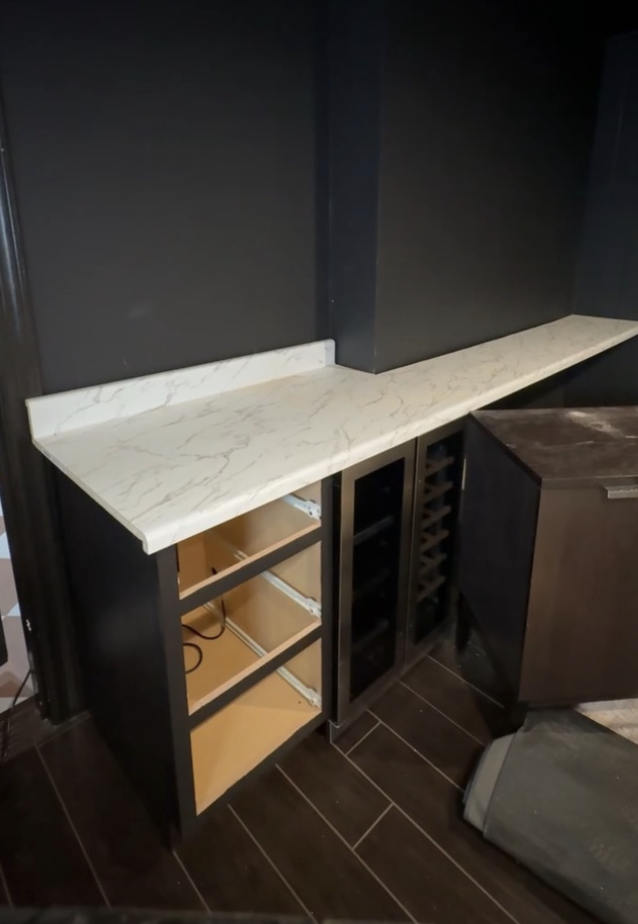
To keep the countertop stable, I used heavy-duty brackets (also purchased at Home Depot) to secure the countertop to the wall. This step ensures the counter remains in place and won’t shift or break with weight.
Step 11: Add the Wallpaper
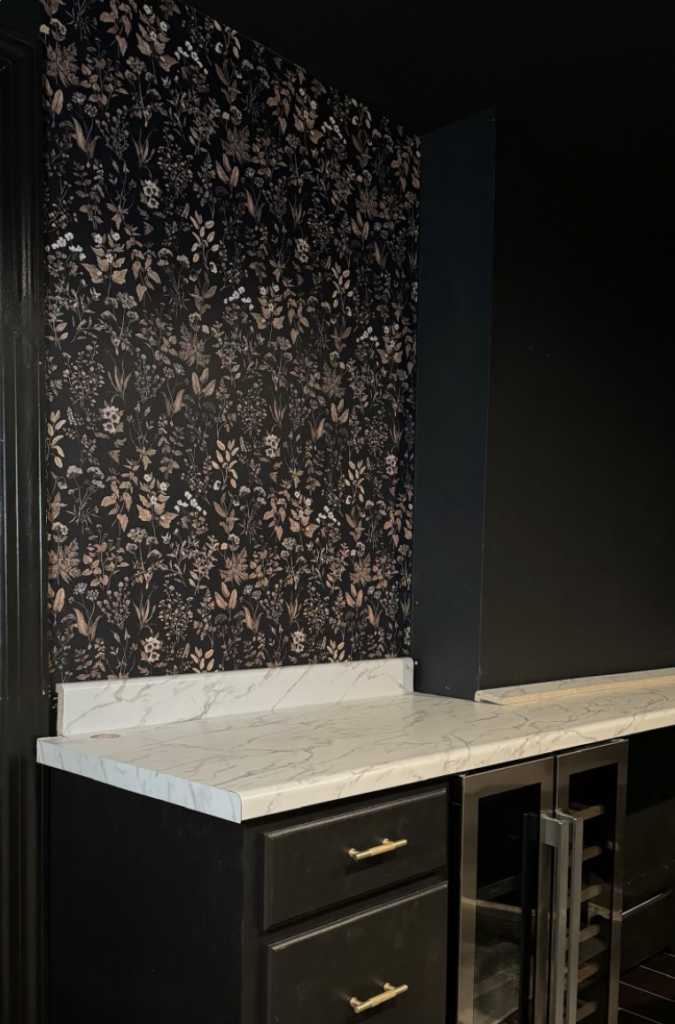
Before adding the arch, I applied peel & stick wallpaper (I went with a floral design from Amazon) all over the back wall. This step adds texture and interest to the space, making your DIY moody basement bar feel more high end!
Step 12: Fit the Arch & Final Adjustments
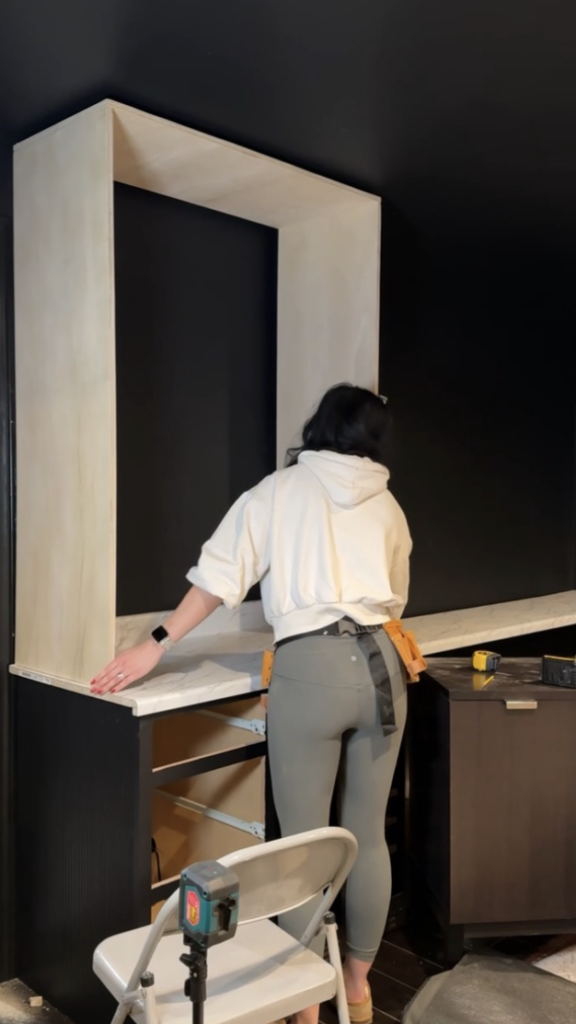
Now comes the fun part! I dry-fit the arch over the countertop, adjusting the vertical pieces so they slid perfectly into the wall. This created a clean, professional look.
Step 13: Add Vertical Support
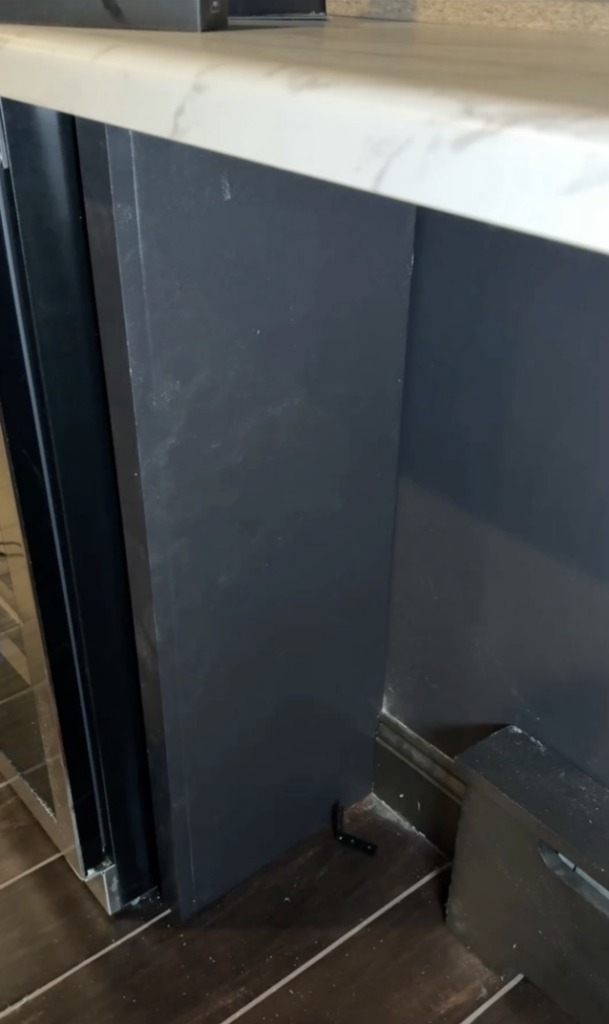
To provide extra support for the countertop, I inserted two pieces of vertical plywood with wood glue and nails. These pieces act as both a divider between the mini fridge and bar stool area as well as an additional support beam for the counter.
Step 14: Install Walnut Shelves into Archway
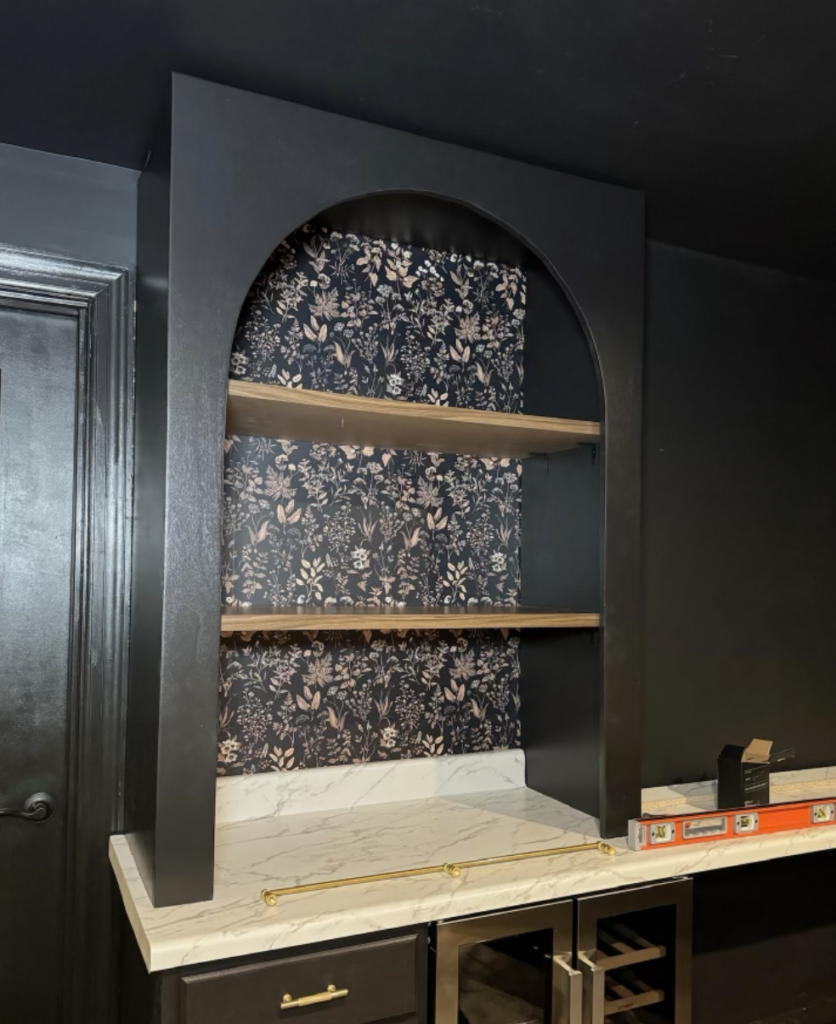
I knew I wanted the look of walnut shelves to give the bar an elevated feel, but in order to keep costs lower, I used a faux-walnut counter from Ikea and cut them down to create two shelves to the archway, secured by four L-shape brackets.
Step 15: Install Brass Rail Detail (Optional)
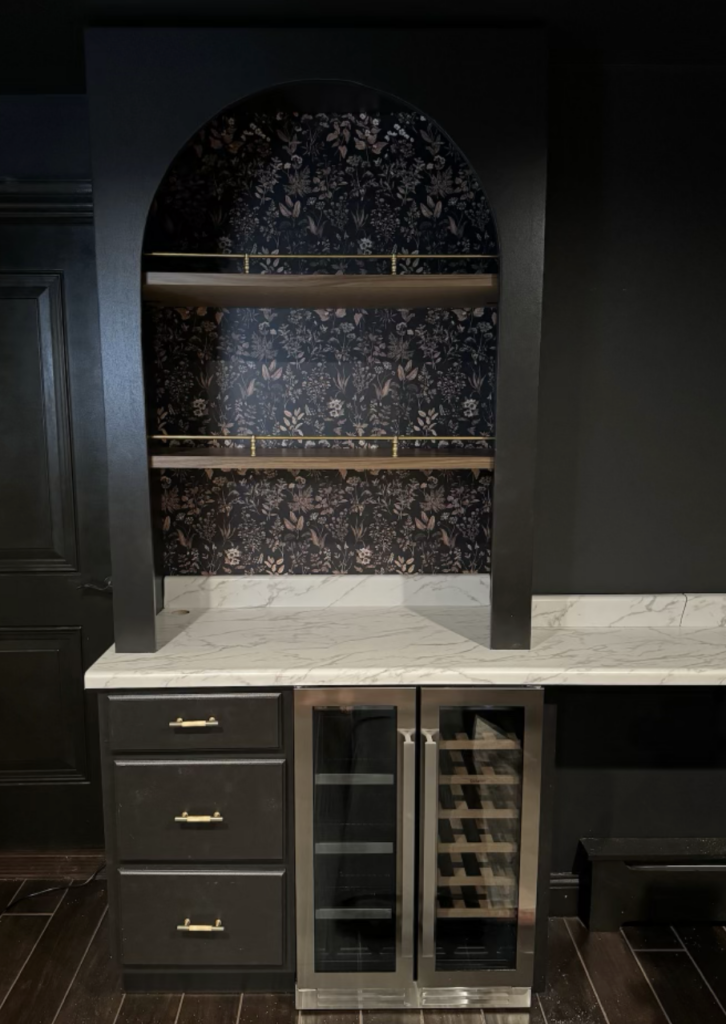
Finally, for an extra touch of sophistication, I added a “gallery brass rail” detail. This was a simple addition that made a big difference in the final look. It’s an optional step, but it definitely adds some character to the bar.
Shop my Moody Basement Bar Decor:
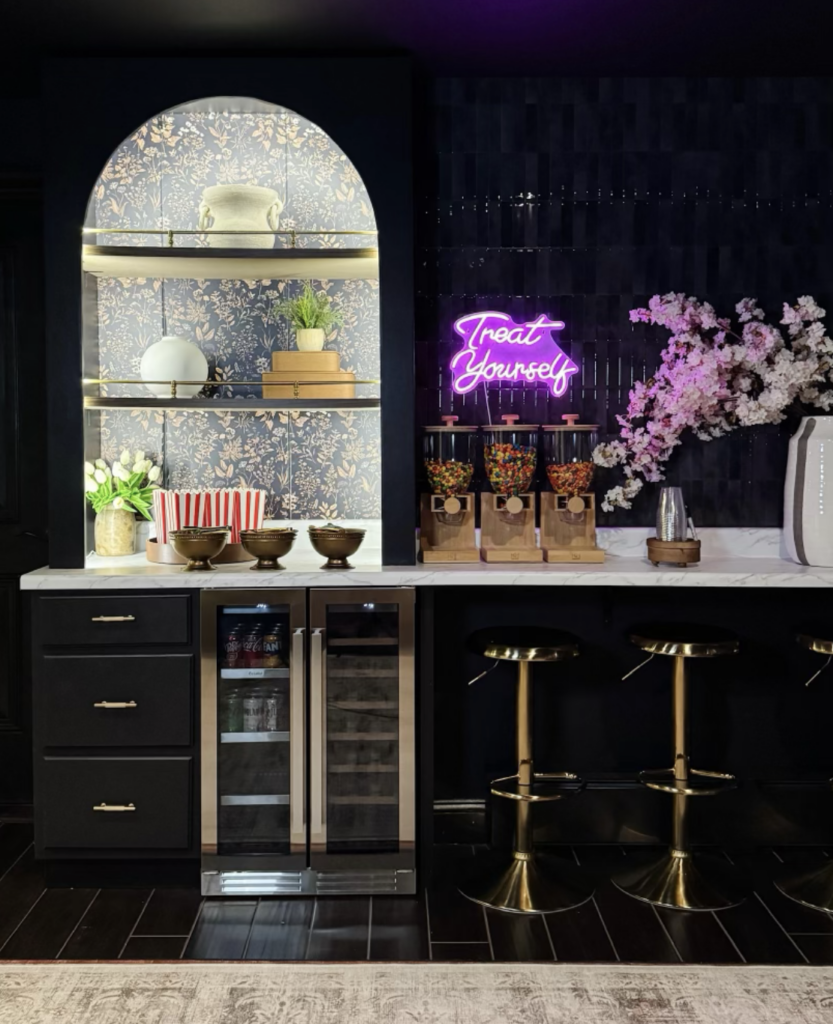
Bar Stools | Mini Fridge | Peel & Stick Backsplash | Brass Hand Pulls | Peel & Stick Wallpaper | Wood Cup Holder | Faux Florals | Movie Night Snack Holders | Candy Dispensers | Treat Yourself Neon Sign
Building your own moody basement bar is an incredibly rewarding DIY project. With just a few tools, the right materials from Home Depot and Amazon, and a bit of elbow grease, you can create a stunning space that’s both functional and stylish. Whether you’re entertaining guests or enjoying a drink at home, your custom bar will be the perfect addition to your basement.
Drop any questions you have below!