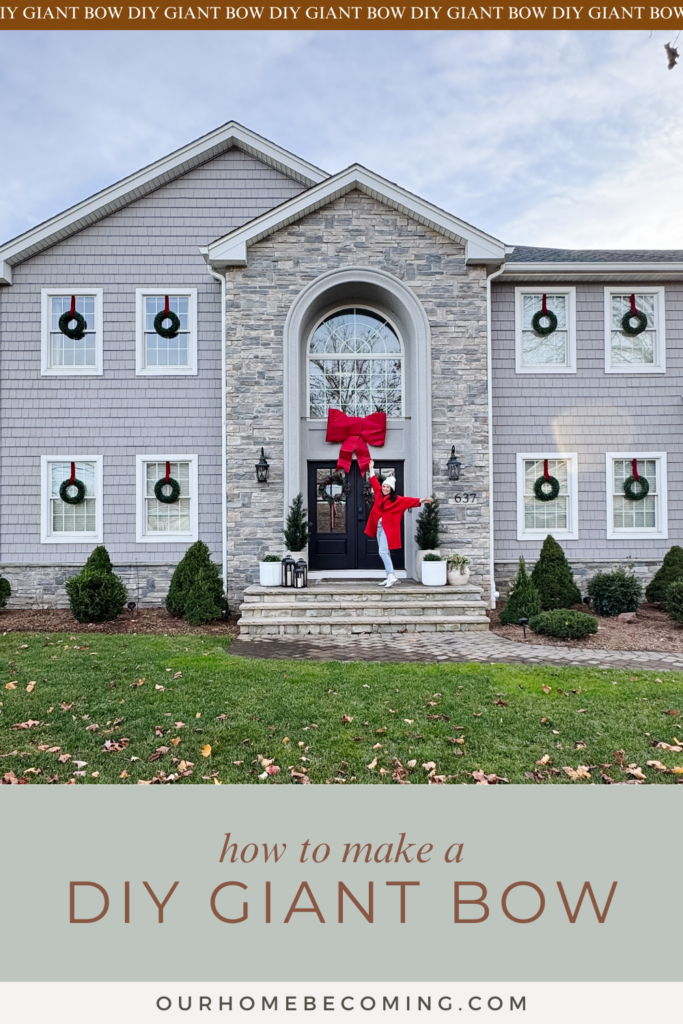
Last year, I saw this giant bow as inspiration for my exterior Christmas decor.

Most of the pre-made bows were either very expensive (i.e. hundreds of dollars) or already sold out. So, I decided to make one! I was SO happy with how it came out and it cost about $75 in supplies for a DIY giant bow! I wanted to hang it outdoors so used materials that are outdoor rated. Here’s a step by step tutorial of how I made it.
SUPPLIES:
STEPS:
1. I started off by making a small model out of plain paper so that I could understand the shapes I would need to cut out and how everything would fit together. This is a very helpful step because I referenced my little model many times during the process!


2. Using plastic mesh fencing material I picked up from The Home Depot, I measured out the size of the giant DIY bow that I wanted to make and then cut out the top bow shape on the mesh. I’ve seen some other tutorials that use chicken wire but I hate cutting and using chicken wire because it’s sharp. If you want a “softer” more balloon-shaped bow, then chicken wire can be shaped more… but I was going for a more structured “flat” looking bow so the plastic mesh was perfect for that.
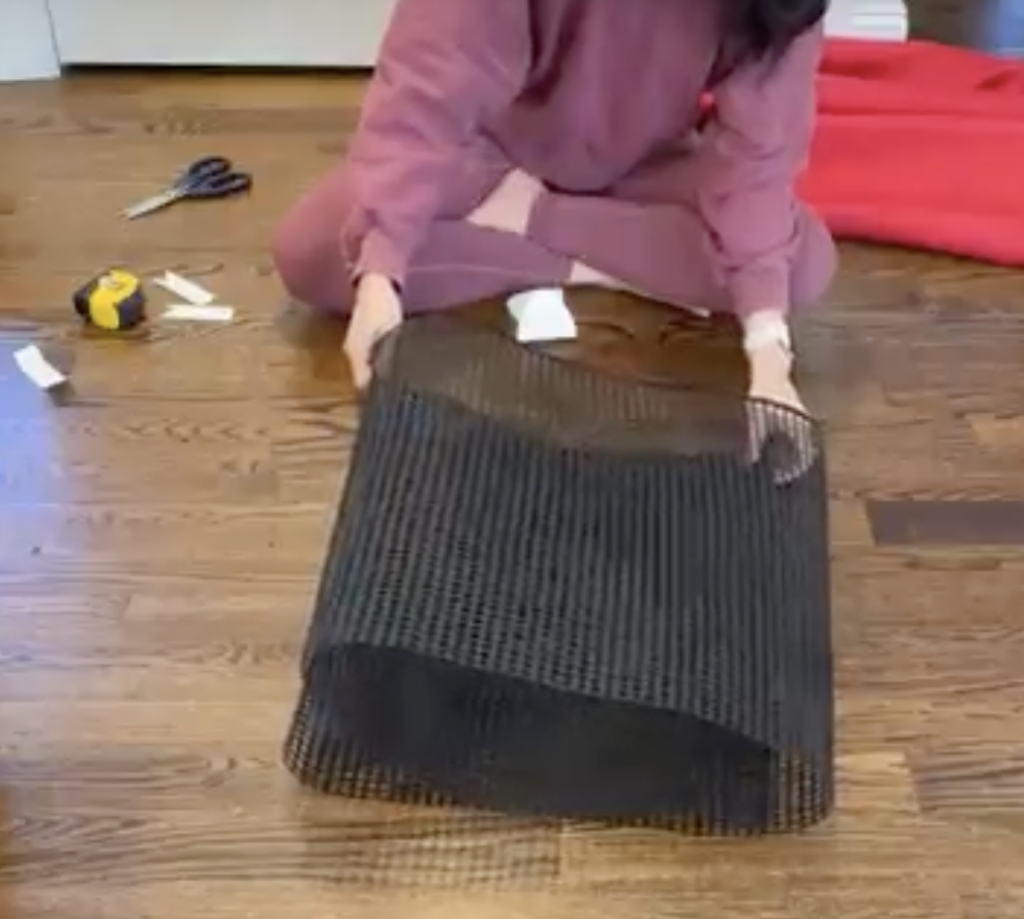
I folded it in half (vertical way) and then half again (horizontal way) so that when I cut out the bow, it would be symmetrical all around.
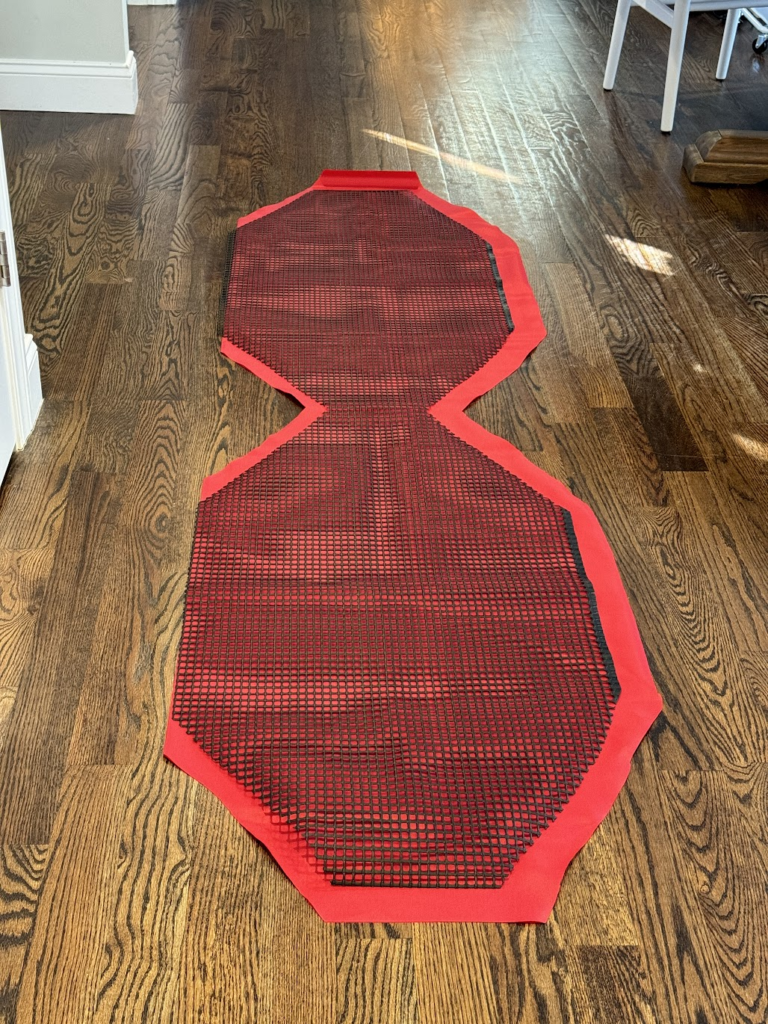
3. Once the giant bow shape was cut out, I laid out two layers of the red waterproof fabric underneath and cut out a 2-3″ border all around.

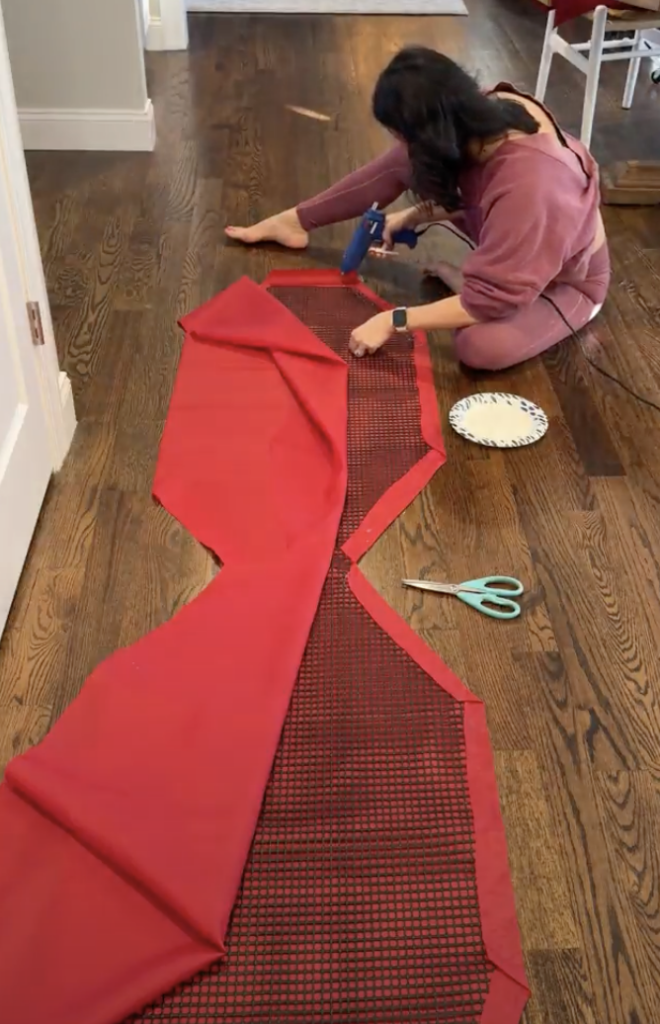

4. Then, I used a hot glue gun to secure the fabric and enclose all the edges. For all the corners, I cut the fabric and folded it sort of like wrapping a gift. Once the bottom fabric is done, I flipped the whole thing upside down and did the same process with the other piece of fabric so that the black mesh is entirely covered.
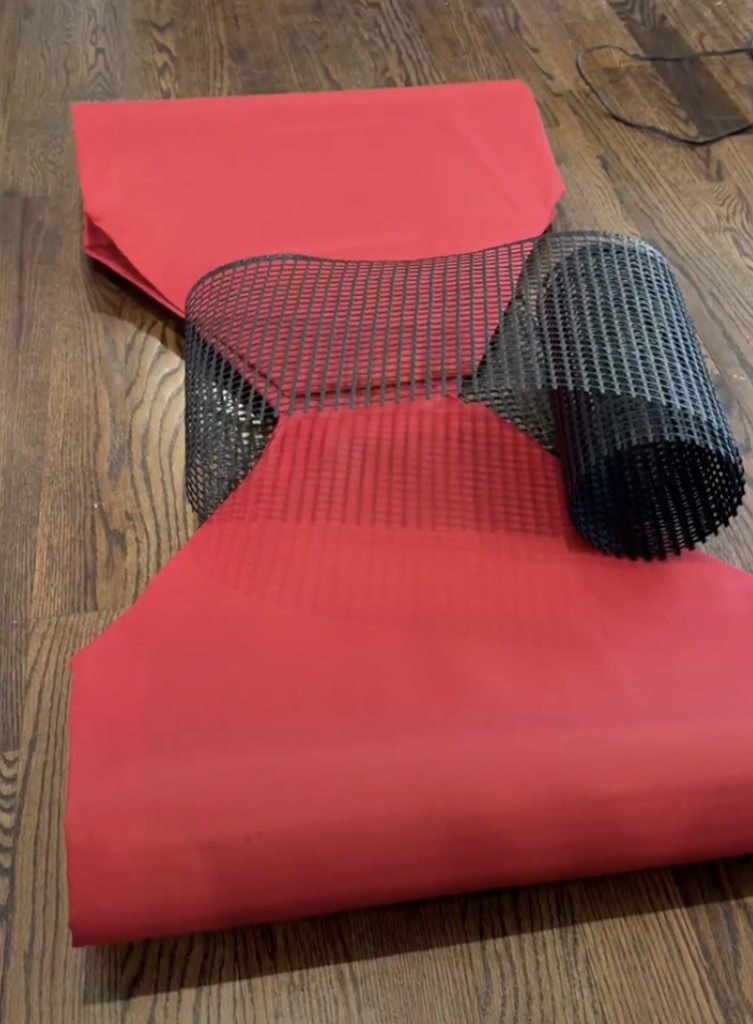

5. Use the same process for the middle of the bow and the ribbons down the side: cut out the black mesh to size, trace it onto the fabric and cut out with 2-3″ extra, and use a hot glue gun to seal it all.

6. For the ribbon tails of the DIY giant bow, I folded the black mesh in half (vertical way) and cut at an angle to create the triangle at the bottom. Then, I laid it on top of the fabric to cut out the shape and glue it.

7. I laid out all the wrapped pieces and used hot glue to secure it all together. I slightly bent the ribbon tails to give it a “flowy” shape.
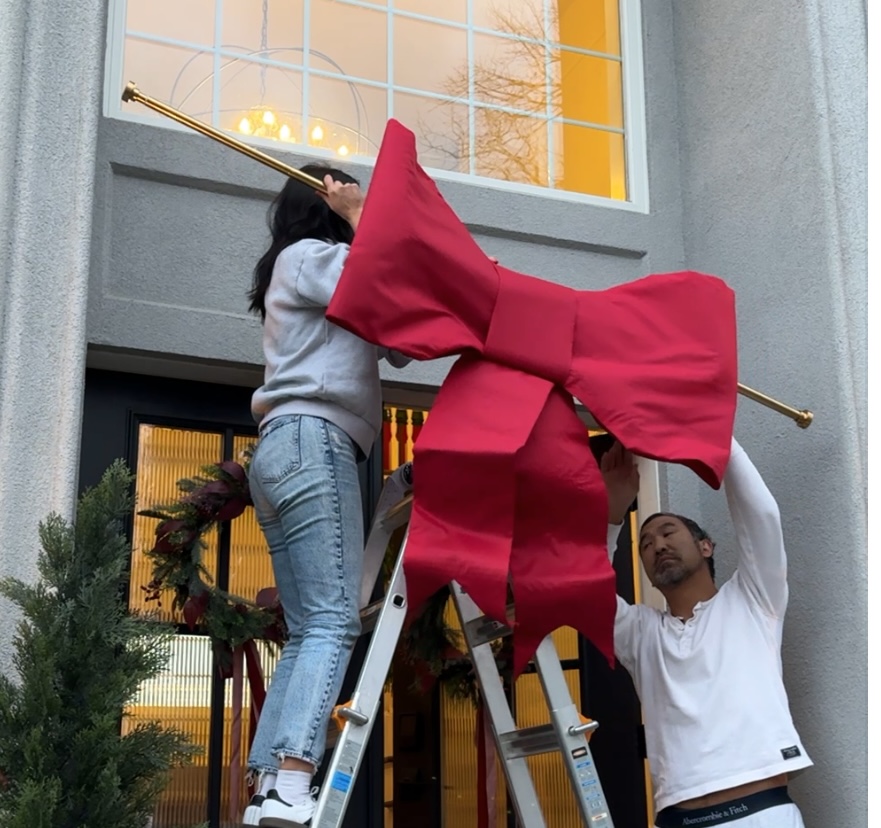
8. To hang it, I used a shower curtain rod and strung the rod through the back part of the DIY giant bow. You could also use extra large zip ties or plain string to secure it as well.
Result
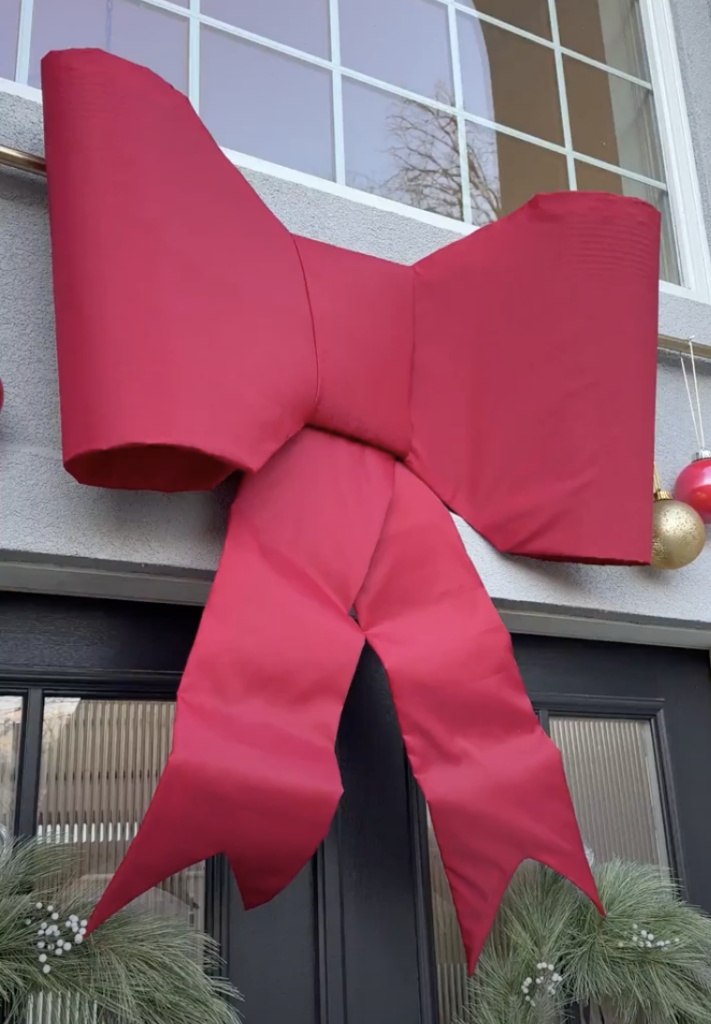
So, how do you think I did? Here’s a reminder of the inspo vs. the final result!

One Year Review

I had this up all season last year and stored it in my attic and rehung it this season – it has held up perfectly! The glue and the shape and everything is in perfect condition despite freezing temperatures, rain, and more. I love how it came out and it’s such a big impact project that adds the perfect pop of holiday cheer! Let me know if you have any questions by sending me a message on Instagram!