This post is sponsored by The Home Depot
FIRST ATTEMPT MISTAKES
A few years ago, when I first attempted to install string lights on my patio, I winged it — and made a LOT of mistakes. I made them so you can hopefully avoid them! 🙂
- I tried to use 2x2x8 boards– they were way too thin and one snapped in half when I tried to attach the string lights. They are surprisingly heavy! You need to use at least 4×4 posts.
- I didn’t use fast setting concrete so I had to jerry-rig a way to hold them upright while they cured overnight. Don’t do this! Fast setting concrete will hold your board up securely in the matter of minutes.
- I didn’t use enough concrete (only 50 lbs instead of 100+) so in a couple of heavy storms, the poles came crashing down. Use at least 100-120lbs per post.
THE RIGHT WAY!
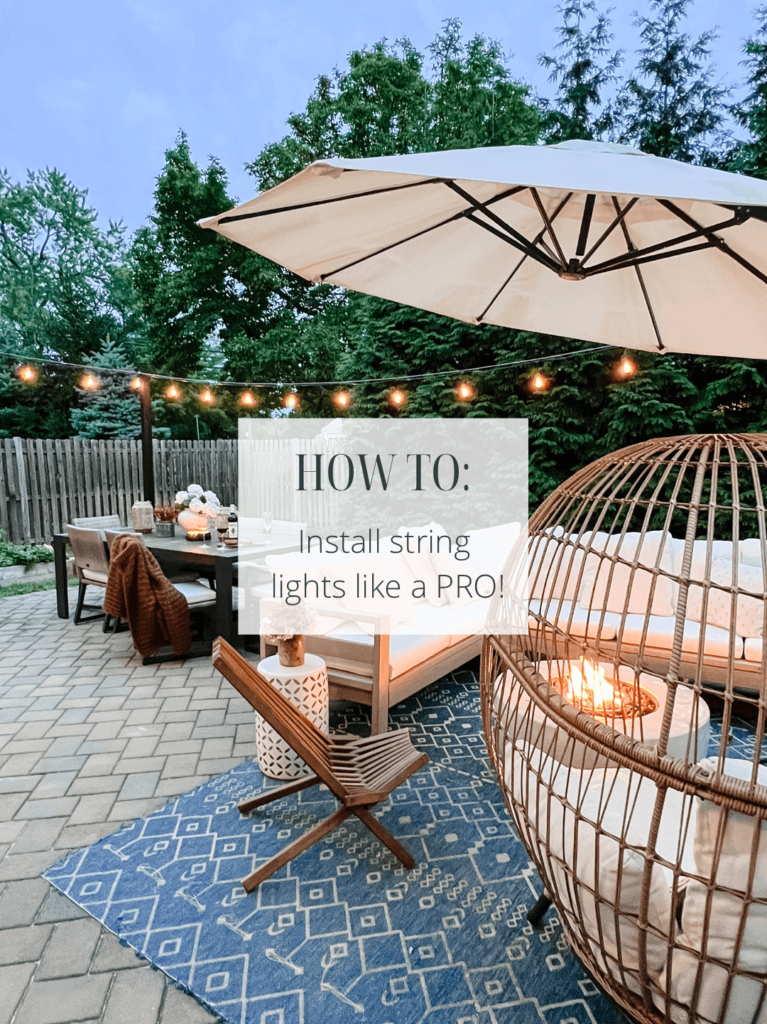
Fast forward to today, I researched the PROPER (professional – but totally DIY-able!) method of how to install string lights and share all the details below so that you can install them correctly on your first try! You can find all the materials you need including the lights at The Home Depot.
MATERIALS
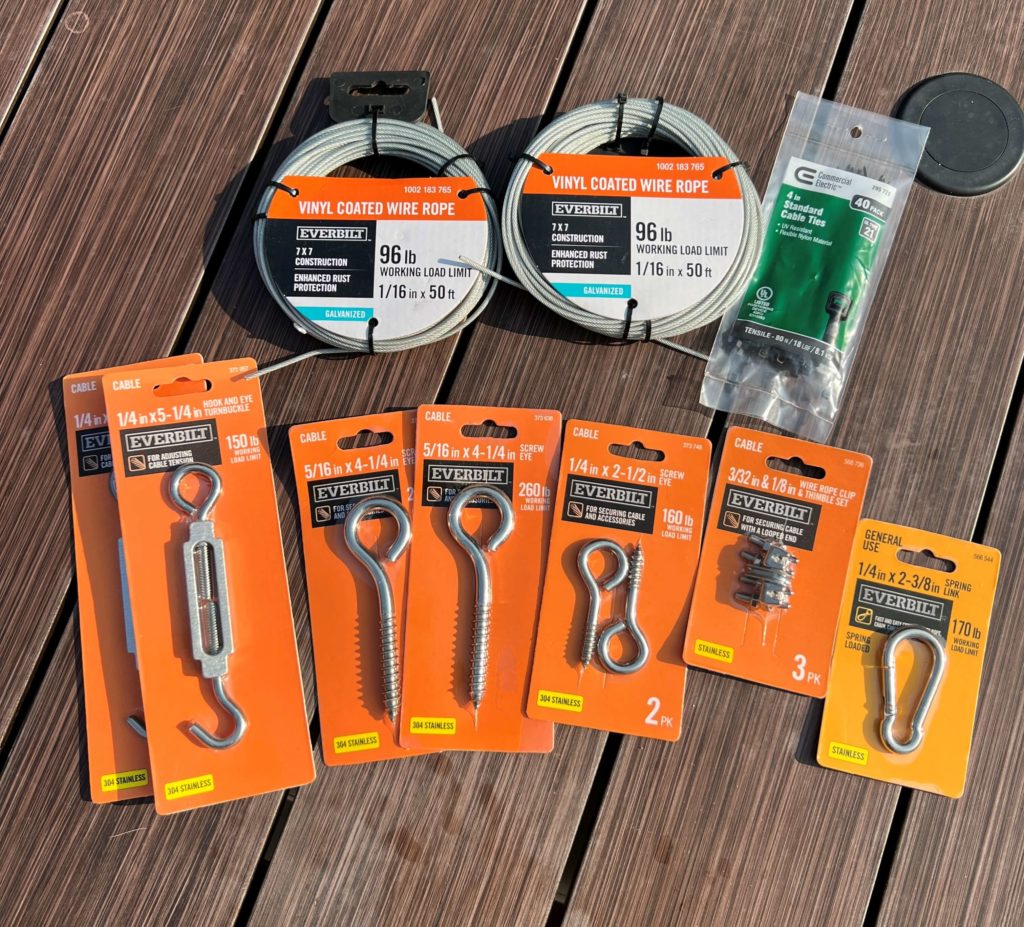
- Hampton Bay 24-light Indoor/Outdoor String Lights (link) – commercial grade and SHATTERPROOF! (Trust me, you need shatterproof bulbs… ask me how I know :))
- 1/16 inch Vinyl Coated Wire Rope (link) – this will give a strong structure for your lights to hang from instead of dangling in free air and drooping
- Hook and Eye Turnbuckle Stainless (link)
- 5/16 x 4-1/4 in Screw Eye Hook Stainless (link) – bigger ones to attach to house
- 1/4 x 2-1/2 in Screw Eye Hook Stainless (link) – smaller ones to attach to the posts
- 1/8 in Wire Rope Clips (aka cable clamps) (link) – used to create “loops” in the wire so you can secure it
- 1/4 x 2-3/8 in Stainless Carbiner (link)
- 4″ black zip ties (link)
- 4x4x8 pressure treated post (link)
- 100-120 lbs of fast-setting concrete per post (link)
TOOLS
- Power drill
- Level
- Needle nose pliers
- Metal snips
INSTRUCTIONS
1. Decide on your lighting design. The most common ones are rectangle around the perimeter of the patio (this is what I opted for!) or a zig zag design. Make sure you read string light instructions and measure the total distance – some have a maximum number of strands you can attach to each other. I only needed two strands for my whole perimeter.
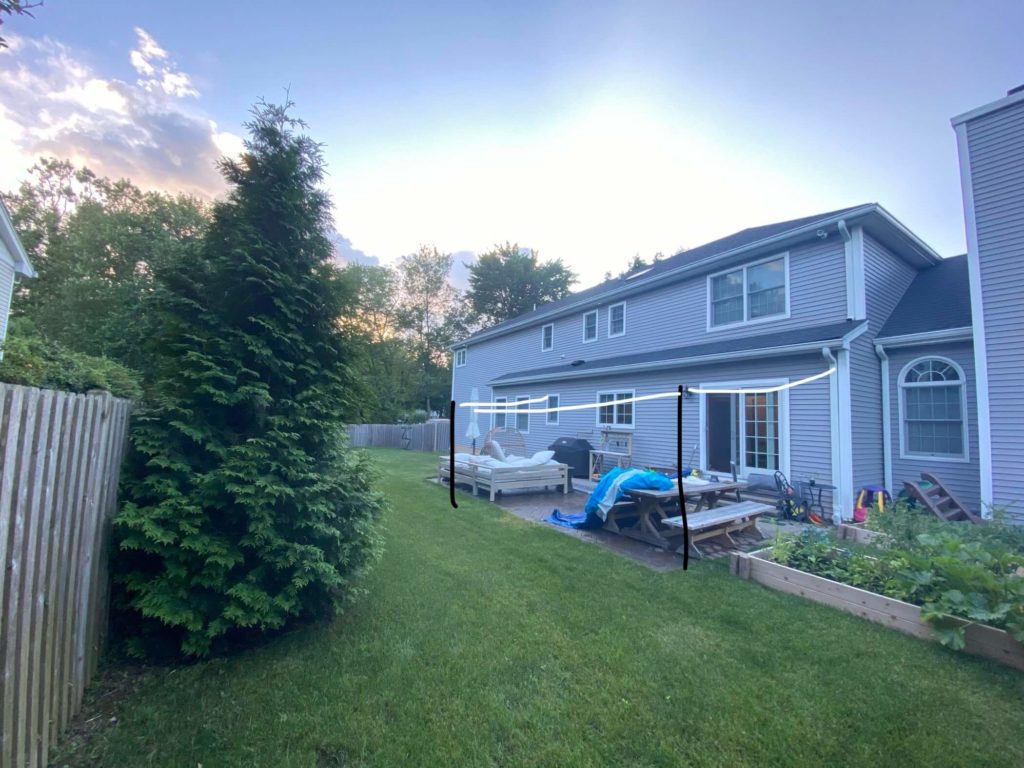
2. Determine where your string lights will be anchored. For my patio, two points of the rectangle would be attached to the side of my house and two points needed a freestanding post.
3. Create your freestanding posts:
- Use a large, sturdy planter with a wide base so it can hold all the concrete and withstand wind. I used a plastic one in the past and over time, it warped. This time, I opted for this 22″ White Resin Planter.
- Grab a friend and have them hold the 4x4x8 post vertically
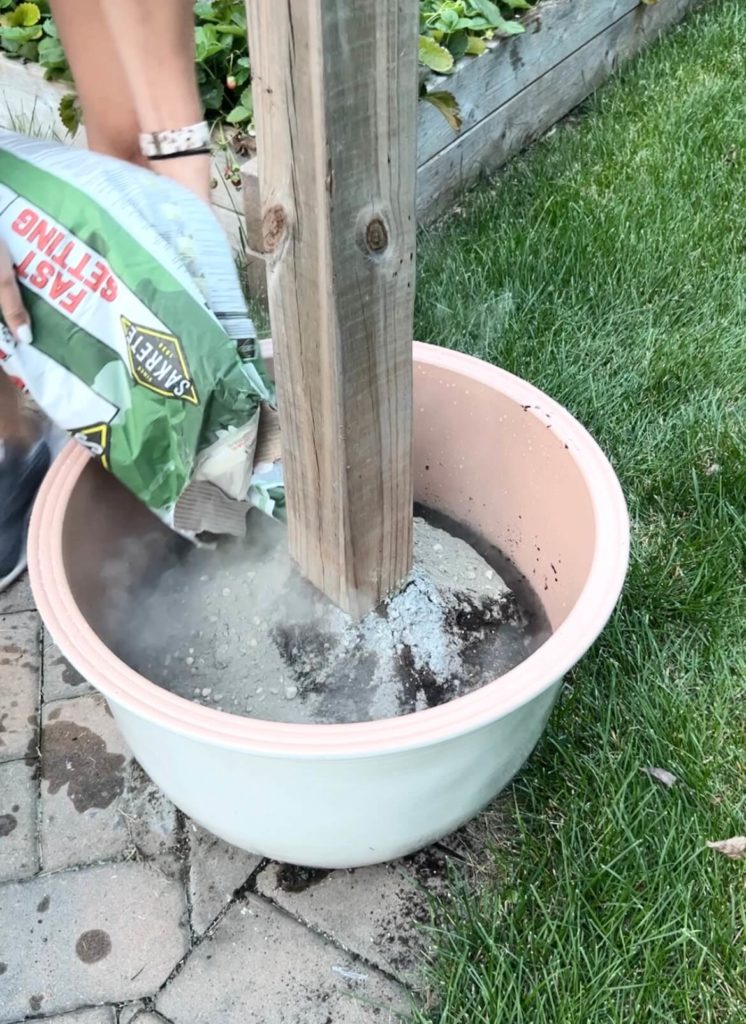
- Follow instructions for concrete mix. I used the Sakrete fast setting concrete mix and it said to fill hole 1/3 with water and then pour in the mix.
- Use a level to ensure the post is perfectly plumb (vertical) before the mixture sets. It took just a few minutes for us before we could let go. Let it cure fully before installing the string lights (I let it cure overnight).
4. Attach eye hooks everywhere the string lights will connect to anchor:
- Determine the right height – for the two anchor points on my house, I opted for slightly higher than the 8′ posts because I needed to make sure it would clear my sliding door.
- Drill a pilot hole – first a tiny one and then a larger one close to the size of your eye hook
- Manually screw in the eye hook. I ended up insert a stick into the eye hook and turning it for extra leverage and that worked perfectly.
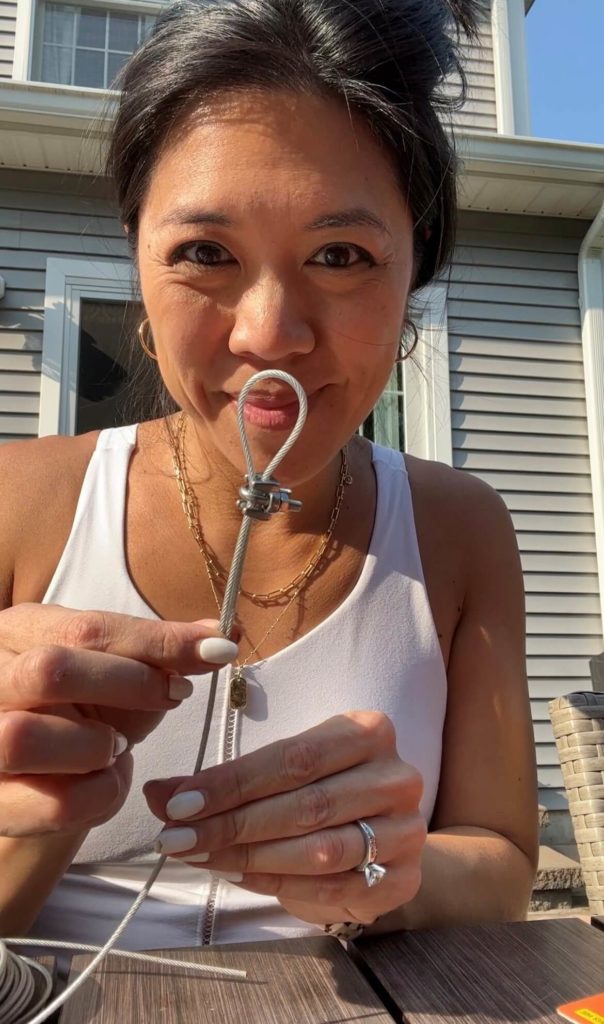
5. Create loops for your vinyl wire to attach. Using the wire rope clips (cable clamps), you unscrew them to create space for the wire to make a loop. Tighten using needle nose pliers until fully secure. You can use two clips per loop for extra security but I just used one.
*Note: I originally tried to keep the wire as one long piece even around corners. I found that cutting and creating loops for each side of the rectangle gave me more precise control over how taut each line was so I had to run out and grab more clamps. It will also make taking down the line easier if I need to do that.
5. Secure your wire all around! Now you have all the connection points and connectors – it’s just a matter of stringing it all together.
You can see the order I used to connect everything below. The turnbuckle is optional but it was SO helpful for the sections I had trouble getting really taut — basically you unscrew it so that it’s at it’s longest point as you attach everything and then you screw it in to make the line even more taut (more leverage than doing this by hand).

6. Attach the actual string lights with cable ties. I used 4″ black cable ties to secure the lights to the wire. It’s like stringing up Christmas ornaments!
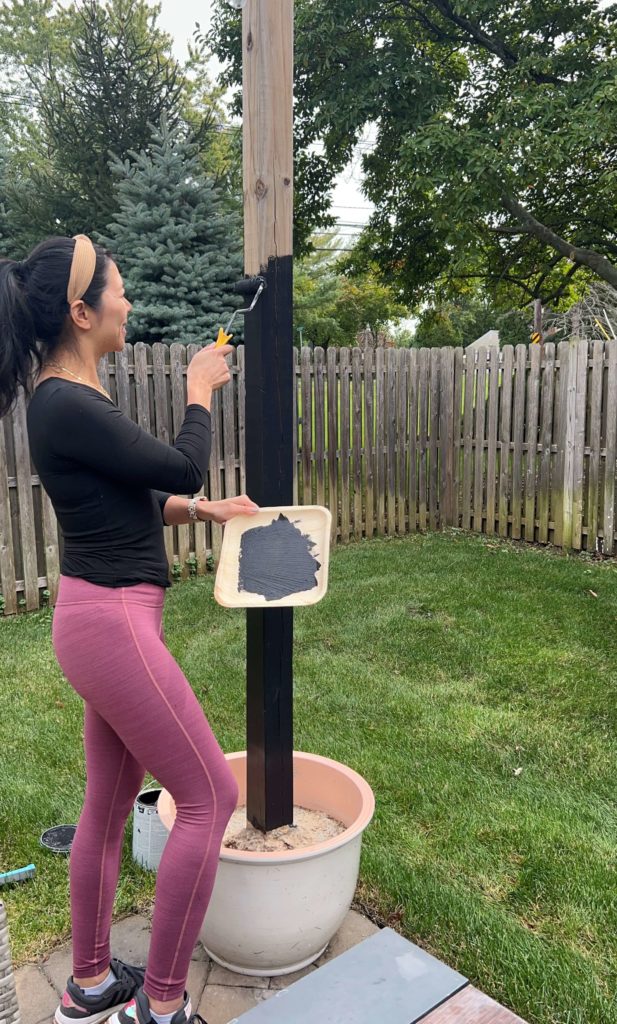
7. Add finishing touches to your planters. You can paint the posts and add plants to the planters (be sure to drill a drainage hole and add rocks for draining before soil/plants.
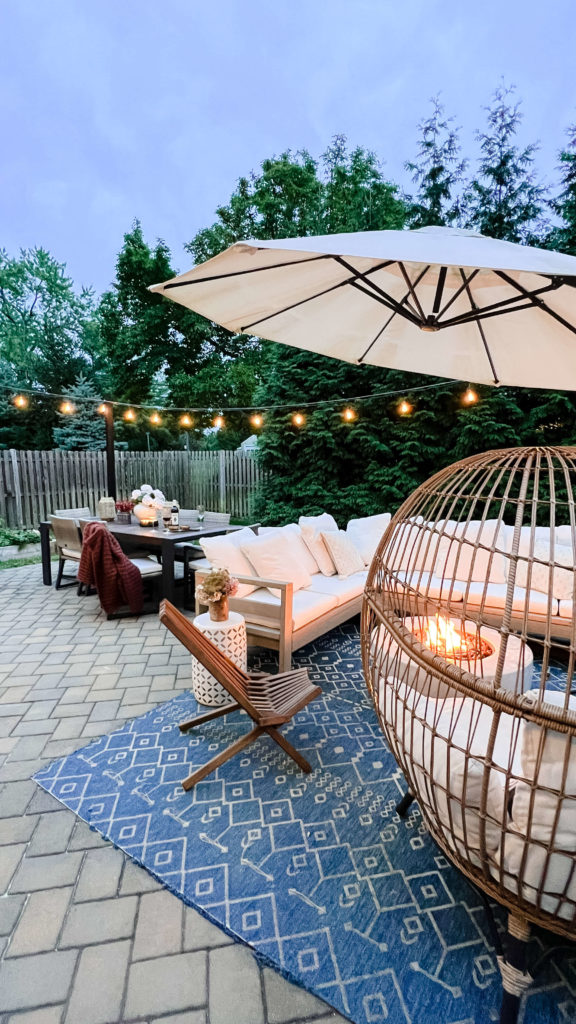
8. Plug your lights in and ta da! A perfectly dreamy backyard space to make memories.