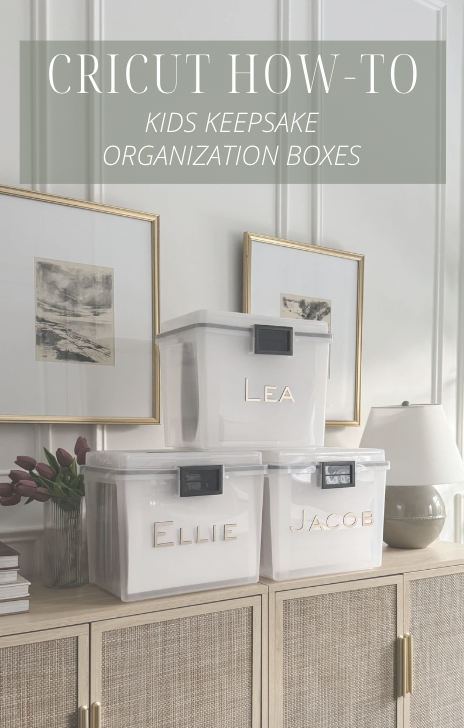
As a parent, I know how quickly my kids come home from school with adorable arts & crafts, heartfelt notes, and important certificates that I want to cherish forever. But let’s be honest—these precious items often end up scattered in random places. I decided to fix this and create a kids keepsake box for each of my children using my Cricut. Not only does this keep everything organized, but it also ensures that one day, we can all look back on these memories and know exactly where to find them!
In this guide, I’ll walk you through how to make a kids keepsake box using a Cricut, complete with personalized labels and an organized system for storing items by grade. Let’s get started!
Materials You’ll Need for Your Kids Keepsake Box
Before diving into the steps, gather these material:
- Cricut Joy Xtra (or any Cricut model—I love the Joy for its compact size!)
- SMART Vinyl (I used gold and black for a timeless look)
- SMART Transfer Tape
- Weatherproof Deep, Clear Bins (perfect for keeping dust and water out)
- Basic Cricut Tools (weeding tool, spreader)
- Cricut Waterproof Sticker Paper (for grade labels)
- Folder Organizers with Hooks (to fit inside the bins)
- Ink Jet Printer
- Rainbow Grade Label Template
- Grade Reflection Template (optional, but super helpful—link provided below!)
For more on my ‘cricut essentials’ click here to shop all!
Step-by-Step Guide: Creating Personalized Name Labels
Step 1: Set Up Your Cricut and Design Space
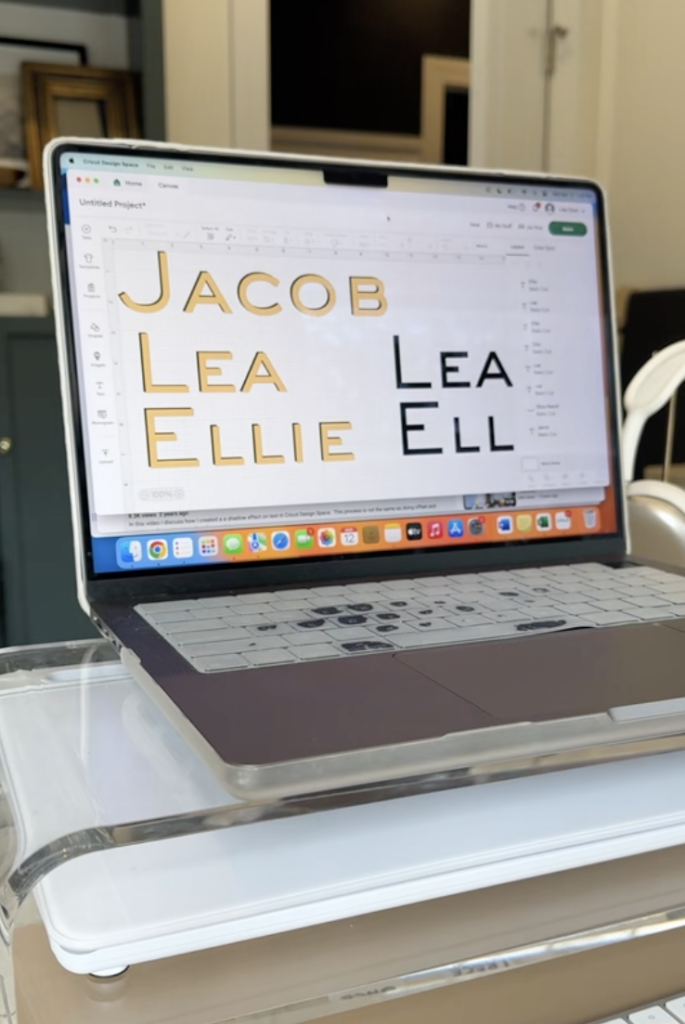
After gathering your materials, set up your Cricut machine and log into Cricut Design Space, the app that pairs with your device. Choose your favorite font and type out your own names! I added a shadow effect for a fun, layered look.
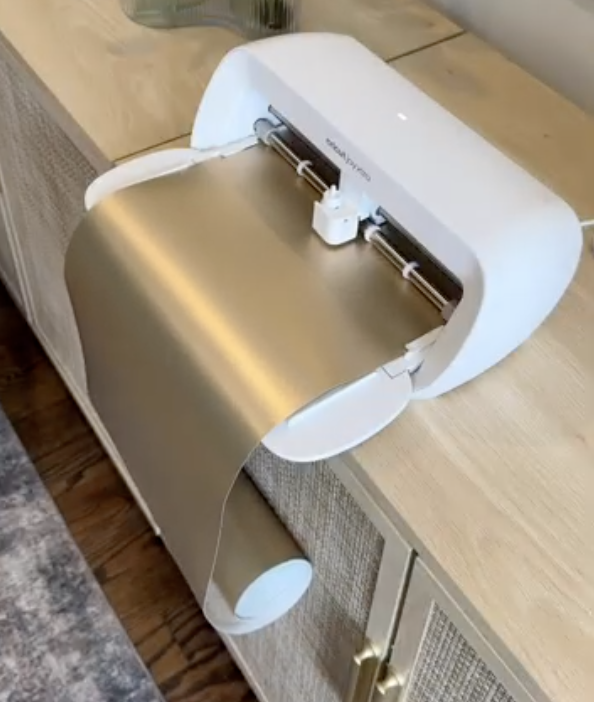
Step 2: Prep Your SMART Vinyl
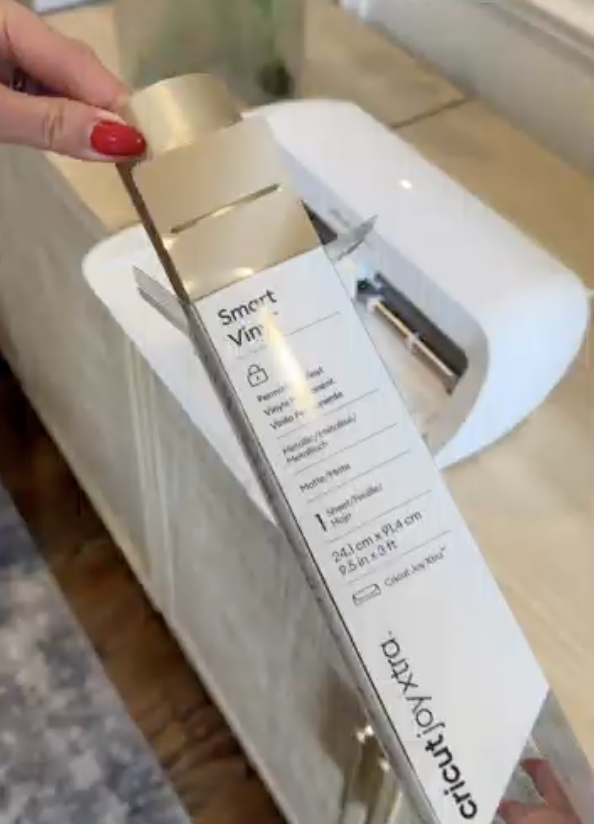
I opted for SMART Vinyl because it feeds directly into the Cricut machine—no cutting mat required! Choose your colors (I used gold for the name and black for the shadow) and load the vinyl into the machine.
Step 3: Cut Your Design
Click “Make” in Design Space to preview your design. Double-check the size and alignment, then let the Cricut work its magic.
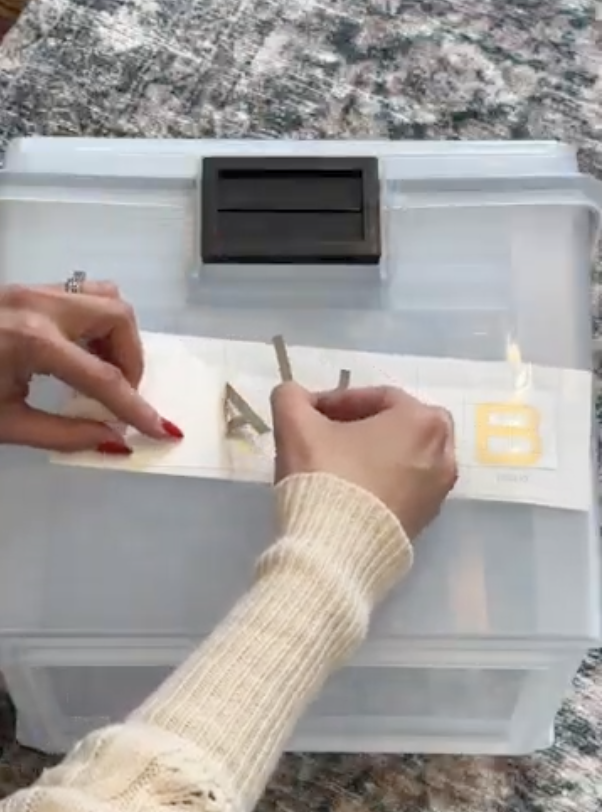
Step 4: Weed the Excess Vinyl
Once the cut is complete, use a weeding tool to remove the excess vinyl around the letters, leaving a clean, crisp design.
Step 5: Apply Transfer Tape
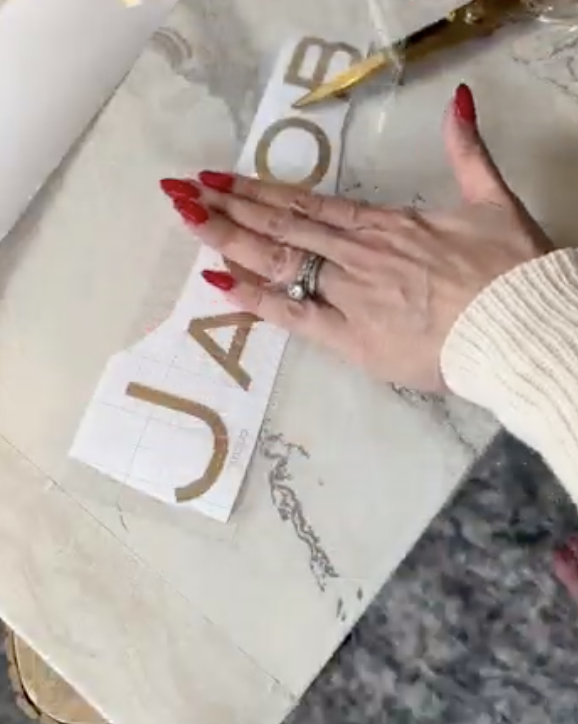
Cut a piece of transfer tape slightly larger than your design. Peel the backing off the tape, stick it onto the vinyl, and use a spreader to press the tape firmly onto the design.
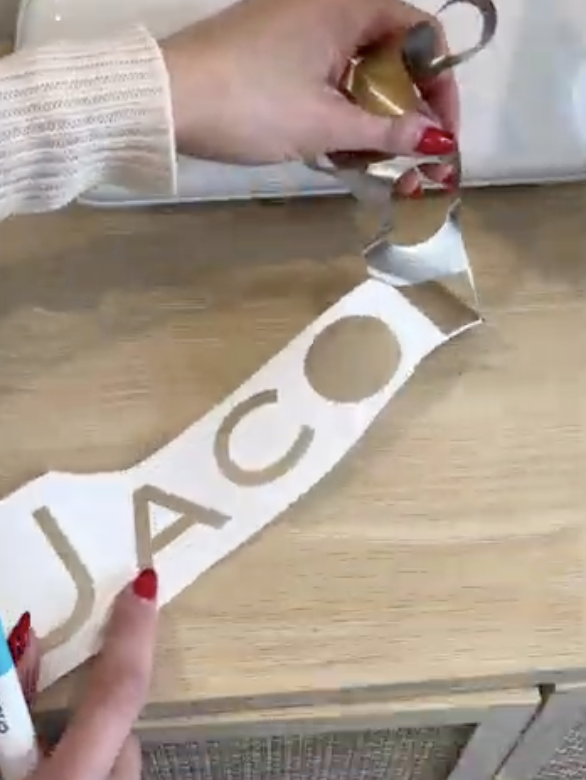
Step 6: Transfer the Design to the Bin
Carefully peel the transfer tape, ensuring the vinyl letters stick to it. Align the design on your clear bin and press it down with the spreader. Slowly lift the tape, leaving the vinyl label perfectly in place.
Step 7: Add a Shadow Effect (Optional)
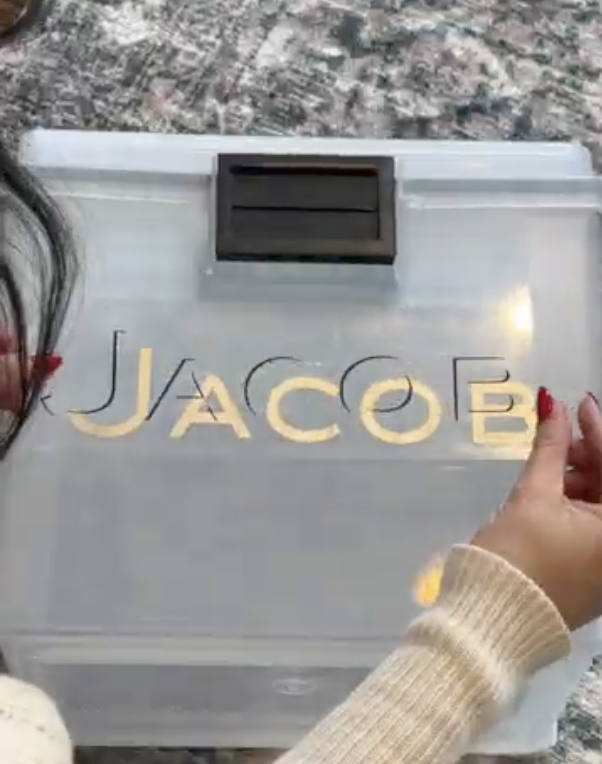
For a layered look, repeat the process with black vinyl to create a shadow effect. Align it slightly offset from the original label for a professional finish.
Step-by-Step Guide: Creating Grade Labels
Step 1: Design Your Grade Labels
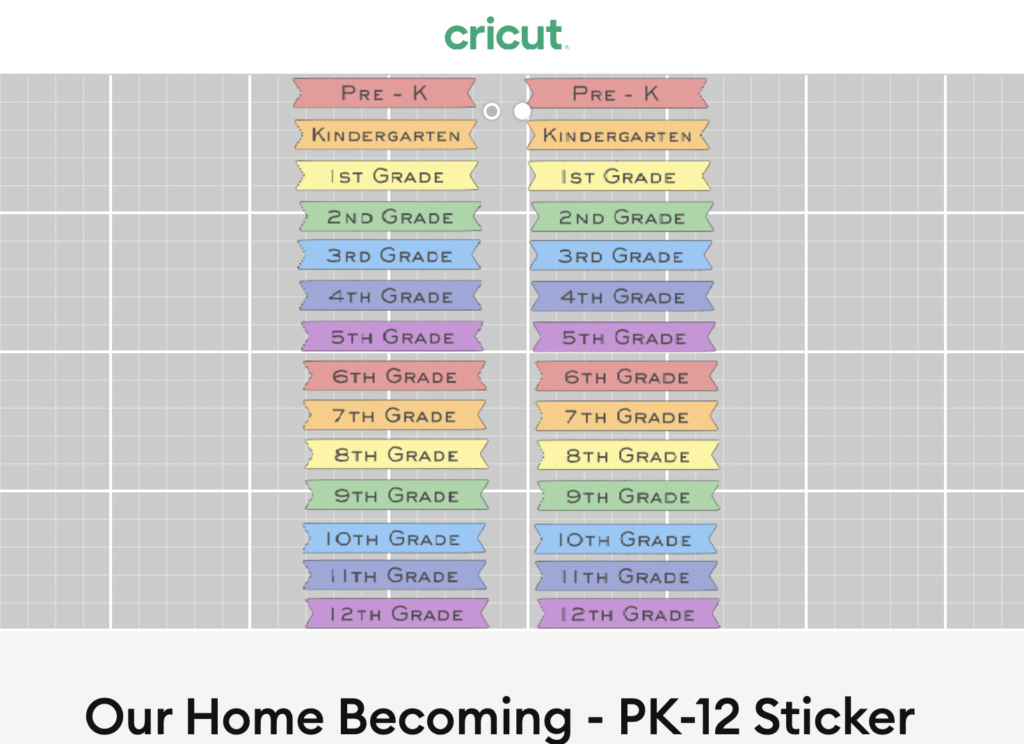
Using Cricut Design Space, create grade labels for each school year. I designed a rainbow-themed template (link here) to make it colorful and fun.
Step 2: Print on Sticker Paper
Load your sticker paper into an ink jet printer. Print a test page to ensure the design aligns correctly on the adhesive side.
Step 3: Cut with Your Cricut
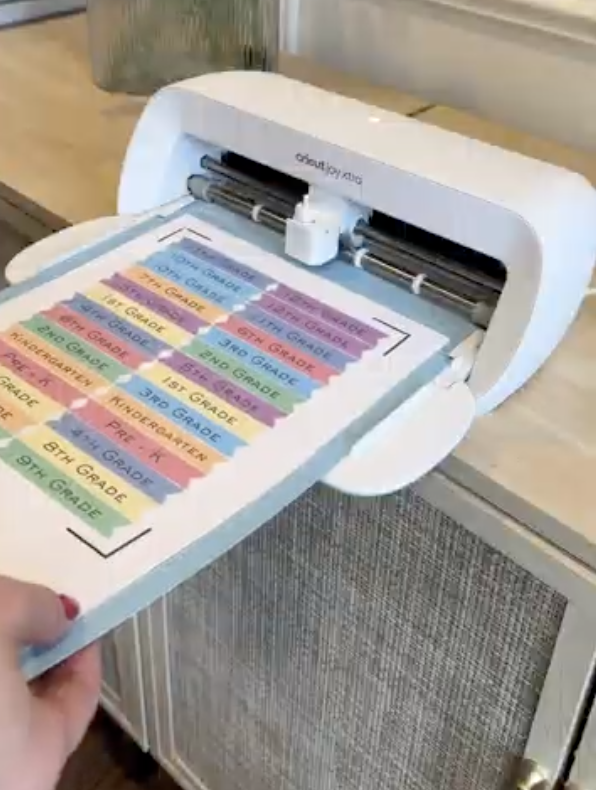
Feed the printed sticker paper into your Cricut and select the “Print Then Cut” option. The machine will precisely cut out each label.
Step 4: Attach Labels to Folders
Peel and stick the grade labels onto your folder organizers. These will help you sort and store items by school year, keeping everything neat and accessible.
Organizing Your Kids Keepsake Box
Now that your bins are labeled and your folders are ready, it’s time to organize! Place the folder organizers inside the clear bins and start sorting your child’s artwork, certificates, and notes by grade. The deep, clear bins are perfect for protecting these precious items while keeping them visible and easy to access.
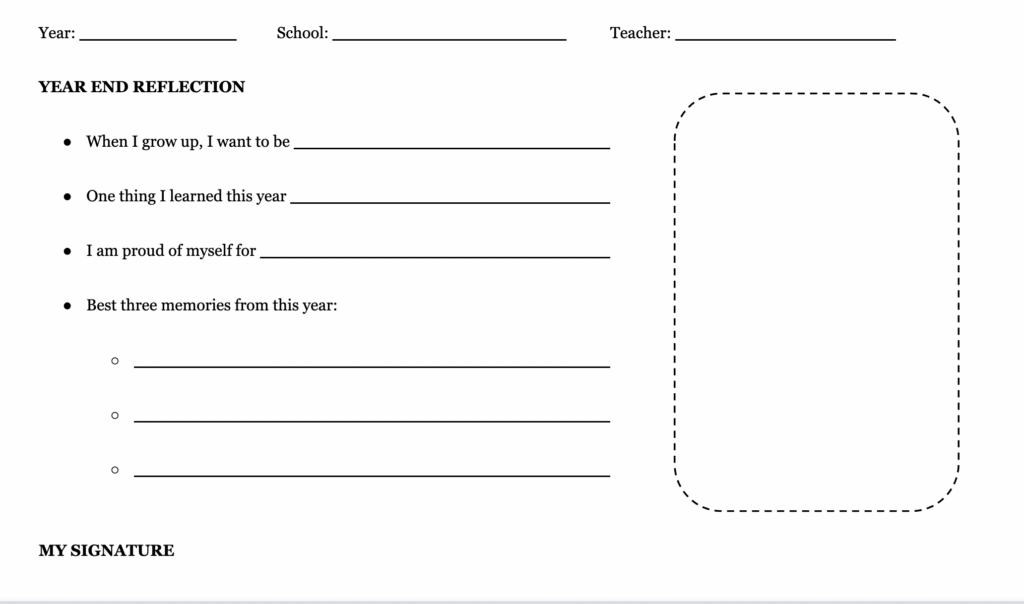
As a memorable step to get your kids involved in this project, I created a “reflections” template to fill out to place in each year to remember any highlights, have their handwriting and photos! To download this as a PDF, click here.
Why a Kids Keepsake Box is a Must-Have
Creating a kids keepsake box with a Cricut is not only a fun DIY project but also a meaningful way to preserve your child’s memories. With personalized labels and an organized system, you’ll never lose track of those special moments again. Plus, your kids will love seeing their names on their very own keepsake boxes!
So, grab your Cricut and start crafting your kids keepsake box today. Trust me, future you (and your kids) will thank you!